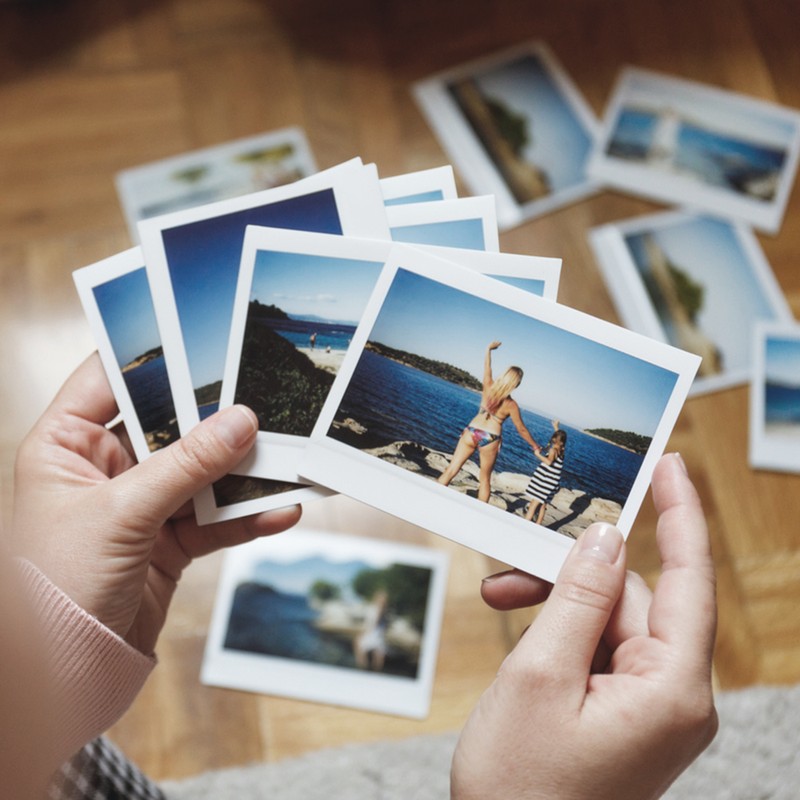
The Different Ways To Organise Your Photos
All products on this page have been selected by our editorial team, however we may make commission on some products.
DIGITAL
First, delete anything you don’t want…
It might sound obvious but try to regularly go through your camera roll or digital folders and get rid of anything you no longer want. If you’re someone who tends to take 20 pictures just to get one shot you like the look of, get into the habit of deleting the surplus straight away. Got thousands of extra images on your phone? Download free app GetSorted, which helps you quickly sort through your library in batches of 50 photos every day. Give it a couple of weeks, and you’ll have significantly slimmed down your library.
Organise them into folders or albums…
You can do this either on your phone or on your computer, but whatever format you’re dealing with, try to file things together in batches, so at least you know which images should sit together and why. That way, if you choose to go down the route of printing them later, you’ll have an existing edit to choose from. The most important thing here is to create a folder structure that works for you: maybe it’s by location (for instance, if you travel to the same place a lot) or by year/month/day etc. If that feels like it might be too time consuming, some smartphones will do some of the work for you. Google Photos and Apple's Photo app automatically analyse your photos to make them searchable by keywords – plus, newer models even group them into albums by location and person. You’ll also find most apps and platforms tend to come with a touch-of-the-button favourites or ‘like’ function, which might be an easy way of sorting things in the moment before you return to it later.
Make your edits…
If you jump into the editing process too soon, it might be harder to remember which images belong to which group or – worst case scenario – you might lose the digital version of the original from which further edits can be made later on. For that reason, it’s best to file first, edit later. While most phones come with in-built editing features, those keen to take things to the next level can look into downloading extra software, like Photoshop and Lightroom, or apps like VSCO, Afterlight or Snapseed. Most influencers will tell you VSCO is the way to go, while professional photographers rhapsodise about DxO Photolab 3 as a cheaper alternative to Adobe or Corel Afershot 3 for indexing. If you’re a beginner, but want something comprehensive, Cyberlink PhotoDirector 11 Ultra comes with a range of sophisticated editing tools and the ability to filter your images by multiple criteria.
Remember to back up…
You might need to purchase extra storage to accommodate all your images but backing up your photos to the iCloud or an app like Google Photos is well worth doing to ensure nothing precious gets lost. Some storage services are free, while others cost a monthly or annual fee, but prices will vary depending on how much storage space you need – which is why it counts to file and edit them first. If you choose to download photos from your phone to your computer, try to funnel the images directly into a photo management program such as Apple Photos or Google Photos or consider saving them photos onto an external hard drive (see below) or printing them. This way, if the original device or piece of equipment is stolen or damaged, your photos won’t die with it.
The three main ways to store digital photos…
External Drive
Don’t panic – an external hard drive is actually quite easy to use. Just connect the drive to your computer via the USB port and drag your folders of photos onto it. Depending on the level of storage, they can be pretty affordable. For example, this 2TB drive would probably store around 500,00 photos taken with a 12-mega pixel camera and it only costs around £50.
Online Photo-Storage Services
Cloud storage sites offer a variety of services including storing, printing, and sharing photos online. Amazon Photo, Dropbox, Shutterfly, and Google Photos are just a few examples – although beware, some offer unlimited storage at no cost, while others have limited free storage with options to upgrade for a monthly or yearly fee.
Print Them
Arguably the most fail-safe option, it’s worth bearing in mind that home-printing photos isn’t necessarily the best option; supplies can be expensive, and the quality is never great. Instead, when possible, try to use an online service or an in-store kiosk. Shop around to see which services and special effects are available and don't discount independent shops. Photobox is a great online option, while influencer Lizzy Hadfield swears by Snappy Snaps for printing on film.
PHYSICAL
Invest in the right storage & equipment…
It largely goes without saying but having stacks of printed photos lying around means things are bound to get muddled or go missing. Before you even receive yours back from the printer, be sure to invest in some proper albums or boxes to keep things grouped together and organised, even if you might want to do something bigger with them later. That might include making a photo book (Papier offer beautiful, simple designs) or even something fun like a jigsaw puzzle using images that hold a special memory – which can then make a good gift for loved ones. Speaking of gifts, check out the frame service at Addison Ross – simply upload the image you’d like them to frame (you can pick the frame, too) and they’ll send it to the friend or family member of your choice – a great idea for Mother’s Day.
Document everything & filter out the rubbish…
When you get your photos back, be sure to record an identifying description, such as the date or who is in the photo, on the back of each picture. Just remember to use an acid-free, photo-safe pencil or pen, which you’ll find in any art supply and crafts shop. Then, sort the wheat from the chaff. Don't keep blurry shots or anything you won't look at again – recycle anything you’d rather not remember and put your favourites into an album or frame. If you’ve got extras you’d rather not store, think about whether you could give them to friends or family. Finally, note down any reprints or enlargements you think you might like to have.
Protect them from sunlight & temperature…
Temperature, humidity, strong sunlight… all of these factors have the potential to affect the quality of your printed photos. It therefore pays to keep them in a cool, dry area, and hang any framed photos away from direct sun. You shouldn’t store photos in basements or attics either, as this is where temperatures and humidity fluctuate the most. With that in mind, it’s also worth noting the oils on your fingers can degrade photos and negatives, so handle them with care. If the photos are vintage or fragile, wear cotton gloves, and never clip, staple or bind photos using an elastic band.
Ensure everything is acid-free…
Did you know certain plastic pages in albums, bags and boxes that aren't acid-free have the potential to permanently damage your photos? If products are labelled ‘photo-safe’ it’s likely they’re made from either polypropylene, polyethylene, mylar, Tyvek or cellulose triacetate – which means they won’t emit harmful vapours which can break down your photos. Always frame photos using acid-free matting or mounting materials, too.
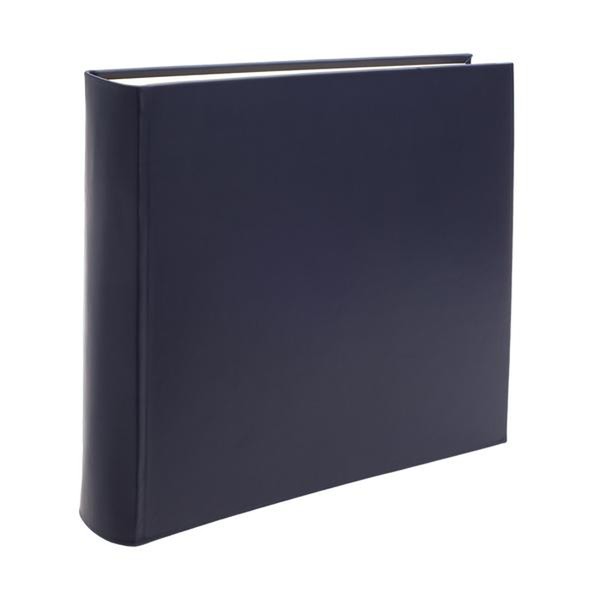
Shop our edit of stylish & practical photo storage options below…
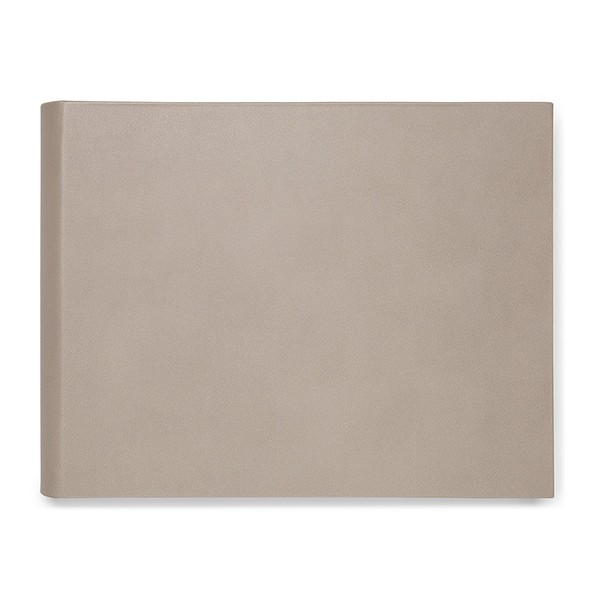
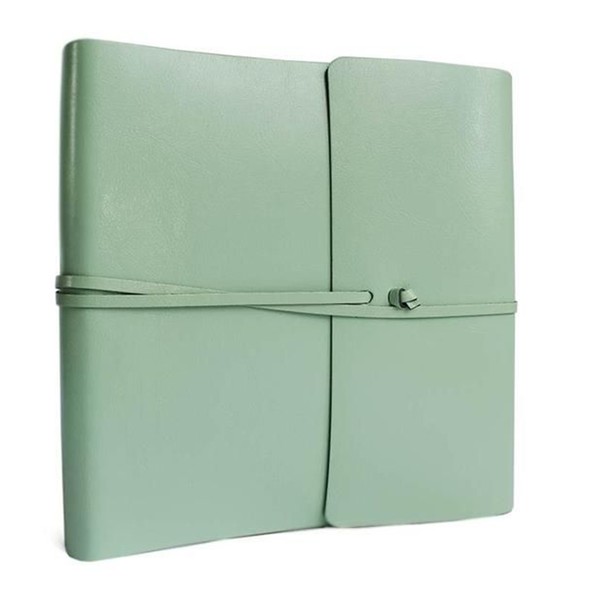
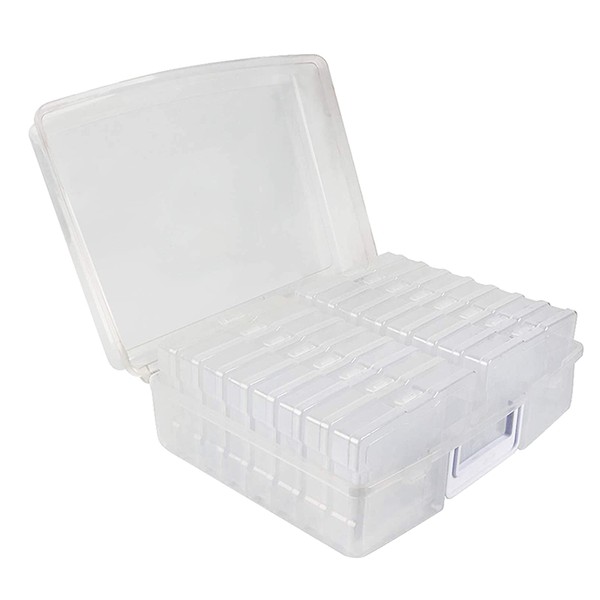
INSPIRATION CREDITS: ISTOCK/ IVAN JEKIC
DISCLAIMER: We endeavour to always credit the correct original source of every image we use. If you think a credit may be incorrect, please contact us at info@sheerluxe.com.

