An Expert’s Guide To Filling In Sparse, Thinning Brows
Brush Your Brows Out
“Right off the bat, it’s key to assess your brows fully. Use a brow tamer to brush the hairs upwards, which will let you see where the natural shape is and where the arch falls. From there, you can get to work with products like pencils and gels. In terms of where tweezing and product placement should start and begin, there’s a simple rule everyone should follow. Place a pencil at the edge of your nose. Where it hits your eyebrow is where any product placement should begin. Next, swivel the pencil from your nose to your iris – this is where the arch of your brow should be positioned and enhanced. Finally, swivel again from your nose to the end of your eye and where the pencil hits the brow is where they end. It’s useful to take a concealer pencil and mark each boundary before you begin.”
Stick To Brow Pencils
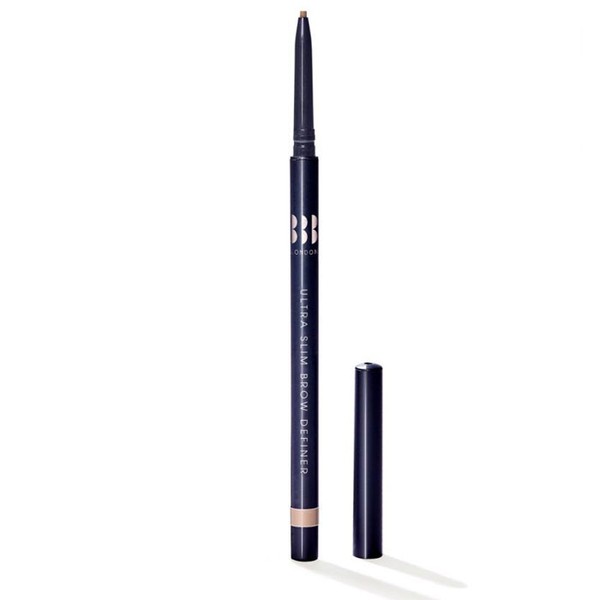
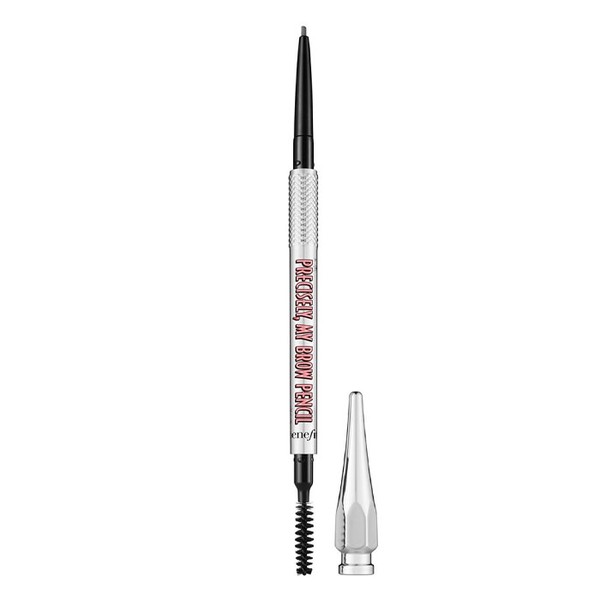
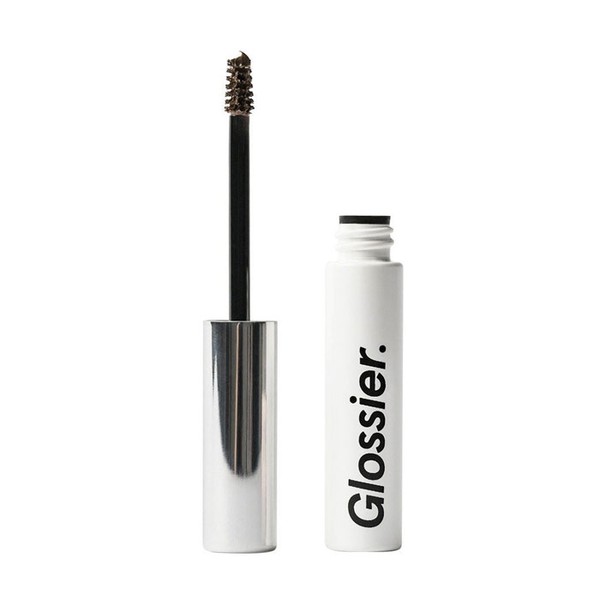
“Pencils are still one of the easiest tools to fill in sparse brows. Most come with fine nibs which emulate hair-like strokes for discreet shape and density. Our BBB London Ultra Slim Brow Definer is particularly good for an even, light colour that’s easy to build up. If you’re looking to add bushiness and bulk, gels can be as effective, too. Most are created with microfibres that coat your hairs for more impact. You can also use gels on top of your pencil to seal everything in – it’s a simple tip but it works to bring definition and structure, even on the thinnest of brows.”
Adopt The Right Technique
“This is important, especially if you have finer brow hairs. Use your pencil in deft, feather-like strokes, in the direction of your natural hair growth. Gradually, you’ll see a shape emerge – keep going until you’re happy. Start with the sparsest areas first to prevent them from looking overdrawn. Once you’ve finished the main bulk, fill in the inner and outer corners in the same way. Don’t panic if you use too much, you can take it down using a spoolie brush.”
Get The Shading Right
“Whether they’re over-plucked or sparser in texture, it’s important to get the colour right. For a more natural, subtle brow, look for an exact match to your hair shade. For those seeking a heavier look, or anyone that’s dyed their hair, you may want to amp it up by going for one shade darker than your natural tone. Aside from shade, you need to choose the right formula, too. For example, gels are very lightweight in colour, as are pens, while pencils and pomades are denser in pigment.”
Invest In Re-Growth Products
“If you’re struggling with re-growth full-stop, or you’ve gone too far with tweezing, there are ways to encourage this hair to bounce back. It may take time, but it’s worth it. Key ingredients that stimulate natural hair growth include castor and almond oil – look for any of these on the ingredients list. Vitamin D is also a great for encouraging growth and it’s easy to up your levels with supplementation. On top of that, products that include rosemary oil are worth a try – this has been touted for centuries.”
Shape Your Brows
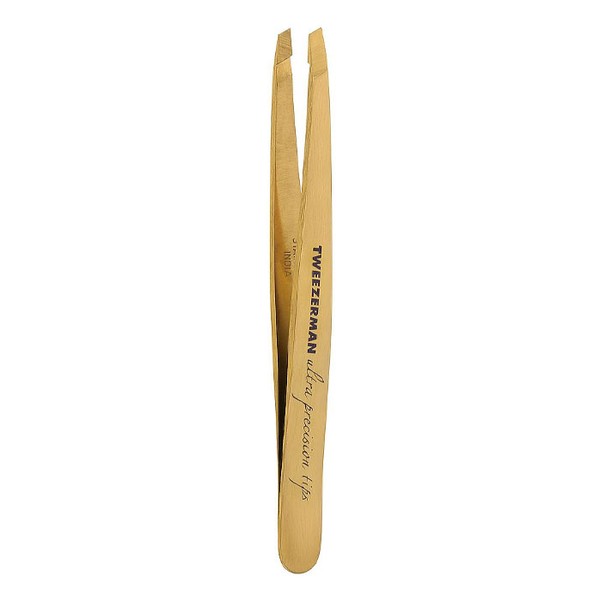
“A lot of people assume they should ditch the tweezers entirely. While it’s better to have an overgrown mass than nothing at all, you shouldn’t avoid shaping your brows entirely. Firstly, avoid taking hair from the middle – this is the area that takes the longest time to grow, so be careful there. As for shape, there are now plenty of stencils available which are a brilliant guide for those in need of a helping hand. If you are tweezing yourself, ensure the tools you’re using have a firm grip – it’s essential to avoid breakage and ingrown hairs. Use the guide mentioned above and pluck carefully beyond this territory – never within in it. Remember to step away from your brows at each point, too – a step-by-step approach is vital."
Keep Wayward Hairs Smooth
“As we age, many of us suffer from wayward, spiky brows. To keep them in place, look for a clear gel. It’s a great way of lifting the brows while sealing them down with a glossy finish. If you want to try something longer-lasting, brow lamination is the latest treatment taking the industry by storm. It works to redirect and set your brows into your desired shape so that you get the fullest effect from your natural growth. Depending on your brow concerns, this process is similar to that of a perm – entirely non-invasive, but with impactful results. Plus, it’s versatile – whether you want big fluffy brows or something smoother, it can be manipulated entirely to your preference.”
Know Your Options
“Products aside, there are plenty of other long-term options, too. Tinting is one of the quickest ways to achieve a thicker, natural-looking brow and it works for everyone. Plus, the effects last between two to three weeks, so the results go the distance. Alternatively, if you’re looking for something with more of a permanent feel, consider microblading. The technique consists of creating fine, hair-like strokes into the skin with a hand-held tool, which is then filled with pigment. As it’s such a precise technique, you get a very natural finish that lasts for months on end. Ideal for those looking to cover gaps, define or fill in over-plucked brows long-term.”
The four brow buys Vanita swears by…


Visit BBB-London.com
DISCLAIMER: We endeavour to always credit the correct original source of every image we use. If you think a credit may be incorrect, please contact us at info@sheerluxe.com.

