Hands up if you’ve ended up with a false lash moustache? Or if your lashes have gone astray after sleeping in them, only to be mistaken for a giant spider by your other half, causing him to scream, jump out of bed and knock himself out on a book shelf?! No? Just me?!
Let’s be honest, many of us have had lash-tastrophes. They’re not the easiest things to apply, that’s for sure. However, once they’re on, they look amazing and can really bring a smoky eye to life. So, to stop any more falsie failures, I’ve put together my top tips on how to apply them, and I’ve listed my all-time faves.
Tools needed
-
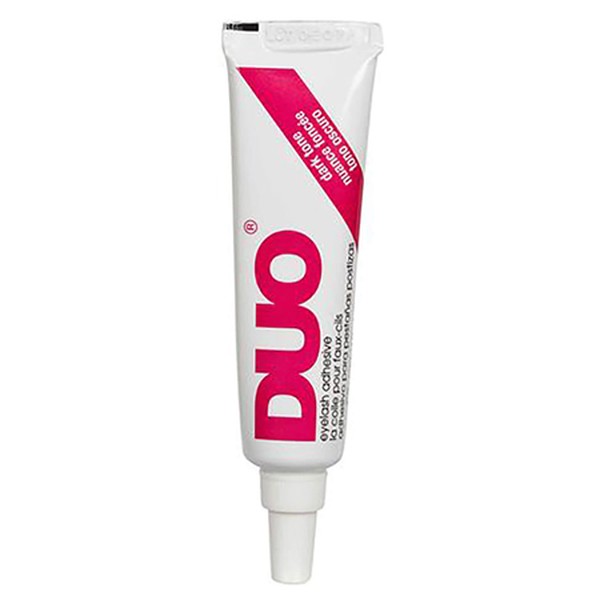
Glue. Duo glue is, without doubt, the best lash glue on the market. The white version dries clear, and the grey version dries black. I love the black one as it makes you look like you have liner on too.
-
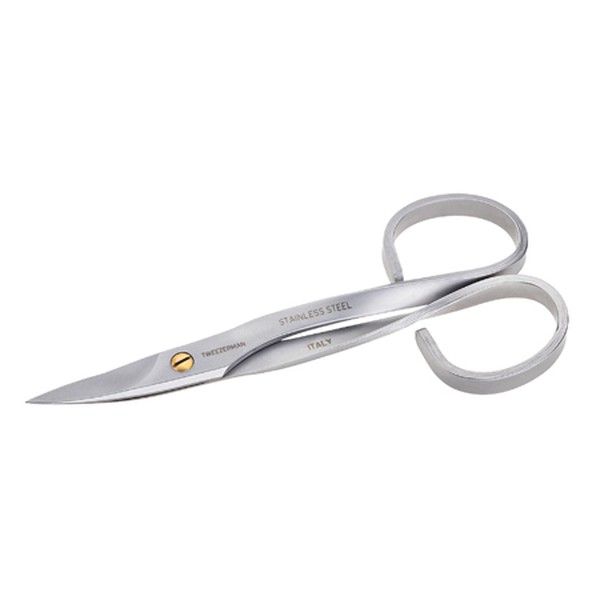
Nail scissors – perfect for Step One.
-
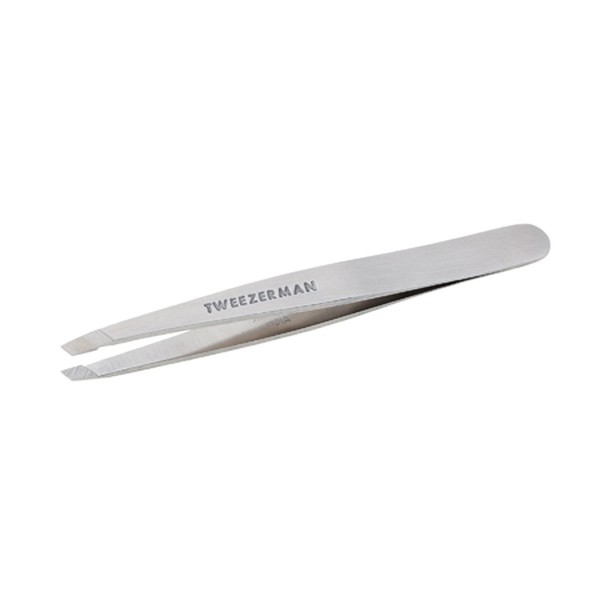
Tweezers. These are great for picking up the lashes and for holding them when trimming. Tweezerman are my favourites.
Step 1
Do your makeup. Your lashes should be the last thing you apply. When you’ve chosen your lashes, measure them against your eye. It’s not a ‘one size fits all’ scenario, so you will more than likely have to trim them. You want them to be the same length as your actual lash line. Trim from the inner corner so you don’t lose the flick of the lash.
Step 2
Bend the lash around your finger for 30 seconds. This may sound – and look – strange, but it’s vital as it adds curvature to the lash, ensuring it sits better on your eye.
Step 3
Now for the glue. Don’t assume you need to add a ton of glue. You really don’t. Less is more. However, always add a touch more at either end of the lash to prevent those areas from lifting throughout the night. You can apply the glue straight from the tube, but I like to use an old lip brush as I find this more precise, and less messy.
Step 4
Next, put on your favourite tune and have a little dance. I’m serious. This step is what I like to call the ‘lash dance’. You want the glue to be tacky, not wet. So, crack out your best moves and shake the lash back and forth for around 30 seconds. Just make sure you don’t let go!!
Step 5
Put a mirror flat on a table and look down into it. This will help you to apply the lash super close to the lash line. Don’t worry if it’s not perfect as you still have time to move it around.
Step 6
Squeeze the false lash and your natural lash together. This will close any gaps in-between the two. I then like to add more mascara on the underneath of my natural lash, pushing them up into the false lash, to give a more natural finish.
Taking them off
Always remove your lashes before your take your make up off. Most lashes can be reused, so doing this prevents them from getting wet. Carefully peel them off. If they’re tough to get off, apply a bit of makeup remover on a cotton bud and use this to help loosen them. When removed, peel the dry glue off the false lash and return them to the box they came in. Most falsies sit on a bit of curved plastic in the box, so place them back there to keep the shape. Re-use 3-5 times.
My Favourites:
Natural lashes
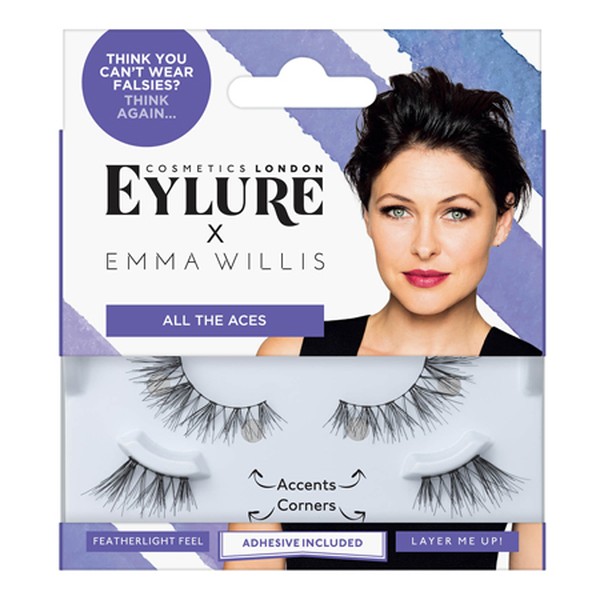
There are a lot of beautiful natural lashes out there. If this is what you’re looking for, maybe try a half lash. These are exactly what they sound like – half a lash. They go from the middle of the eye to the end, giving a gorgeous, natural flick. Apply them the same as a full lash, just don’t trim them.
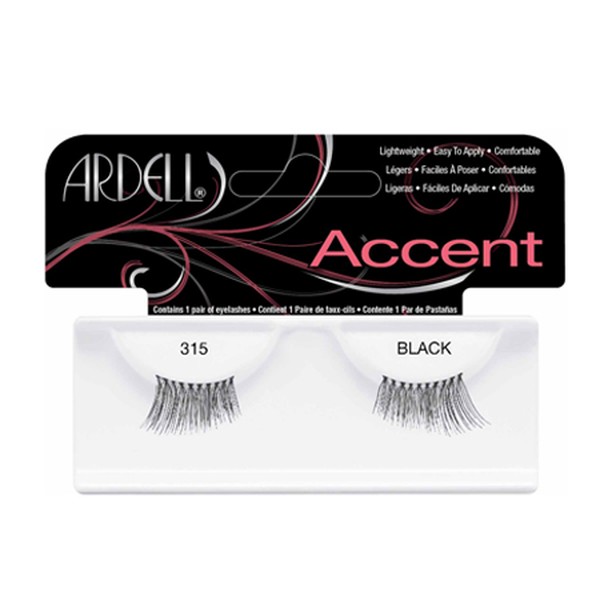
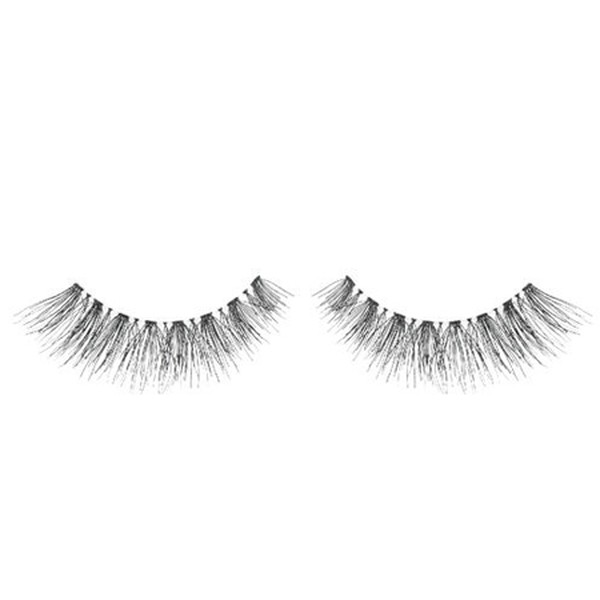
If you’d prefer a normal lash, Ardell have an amazing range, my all-time favourites are the Demi Wispies. They give the most gorgeous full, yet feathery lash.
Full lashes
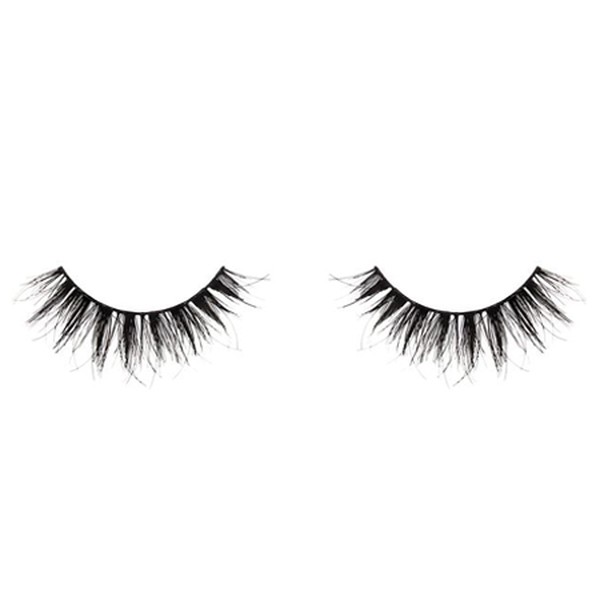
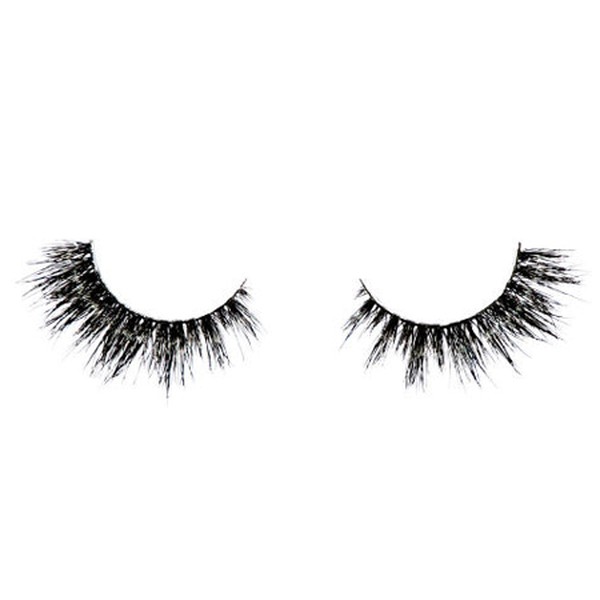
This was a hard one as there are now SO many great full lashes out there. The quality is amazing. Huda Beauty, MAC, Ardell and Doll Beauty, do some of the best. The ones I always go back to are
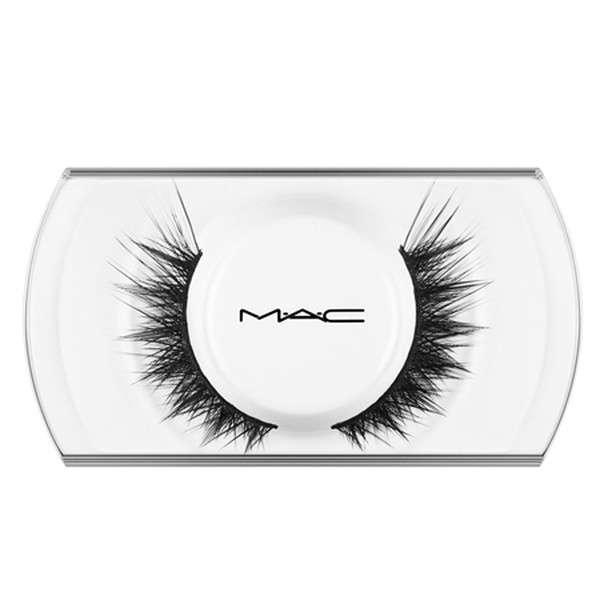
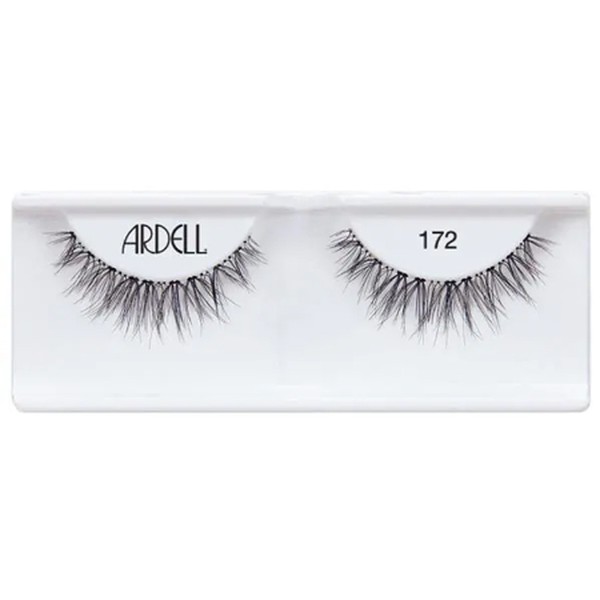
So, that’s my 101 on all things lashes. If you’ve never tried them before, or have always found them tricky, give them another go. Just remember to learn from my mistakes, and take them off before you go to bed ;)
Love & lashes,
Lisa xx
DISCLAIMER: We endeavour to always credit the correct original source of every image we use. If you think a credit may be incorrect, please contact us at info@sheerluxe.com.


