How To Replicate These 4 Autumn/Winter Nail Trends
Trend #1: Coloured Tips
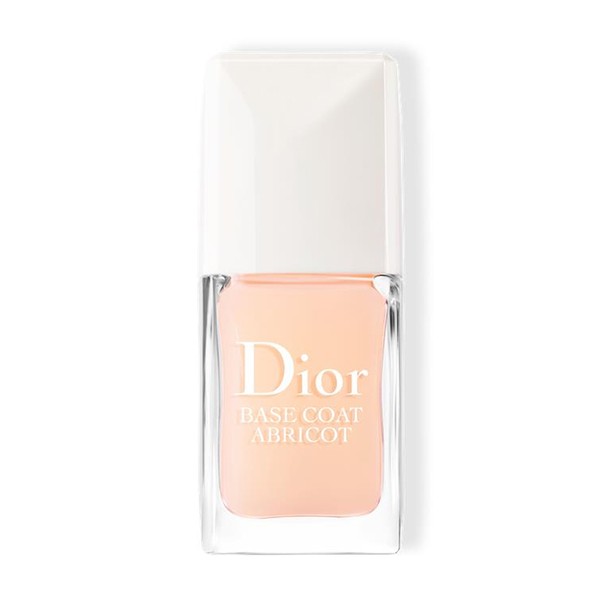
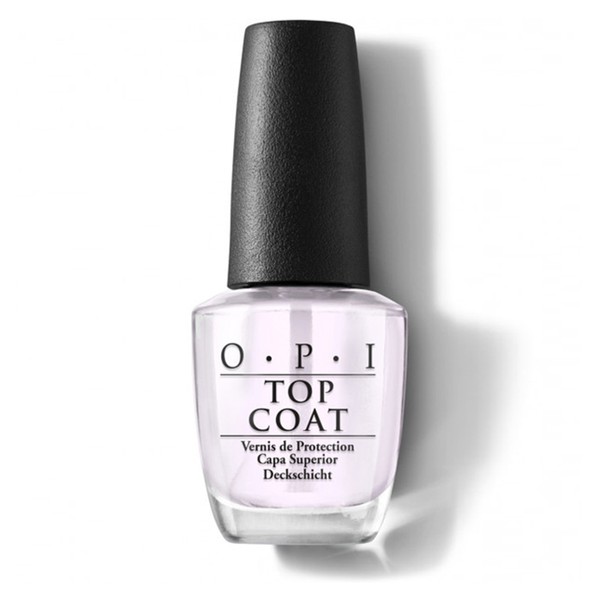
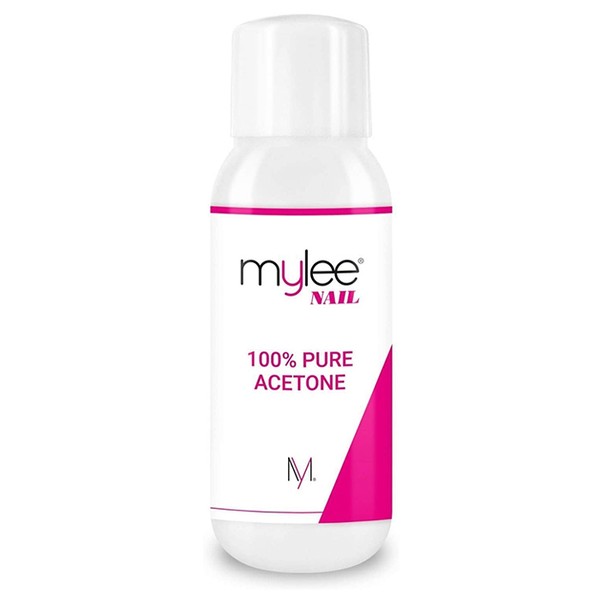
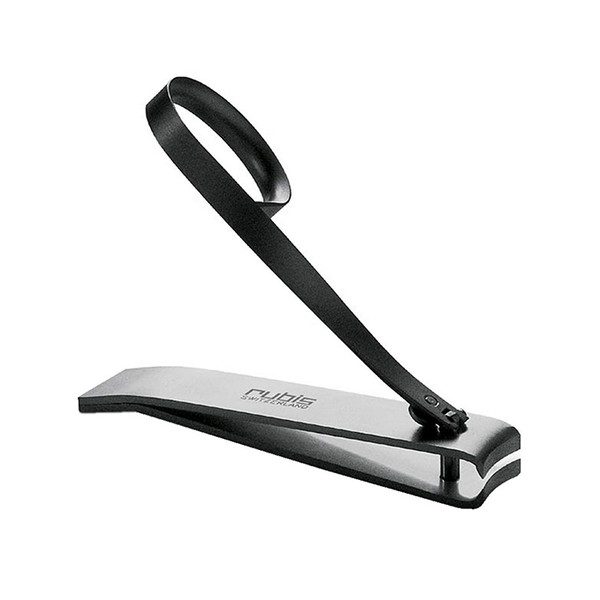
“Coloured tips first became popular last year and it’s a trend that shows no sign of waning. In terms of steps, it’s no different to creating a traditional French manicure, only with colour instead of classic pink and white. Always begin with some good nail prep – every nail should ideally be filed and clipped to perfection. After all, the right nail shape will make it easier to create even, matching tips. Once this is done, apply a clear base coat – I love OPI. Then, take the bottle brush from your chosen polish and work your way across the free edge (the tip of the nail), moving from one side to the other, meeting the line in the centre of your nail. Some people may find a bottle brush too thick to worth with – try using just the outer edge – so it’s worth knowing a a thin lip or eyeliner brush works just as well. If you make mistakes, just use some polish remover or acetone to smooth things over before you apply a top coat for a hardened, glossy finish.”
Trend #2: Cuff Nails
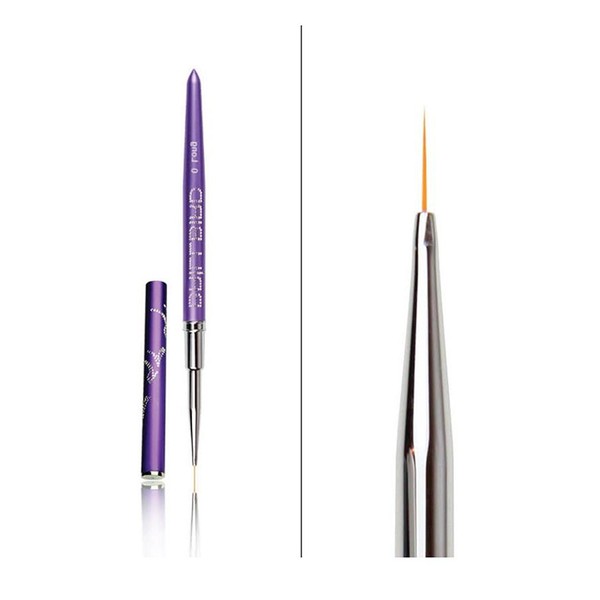
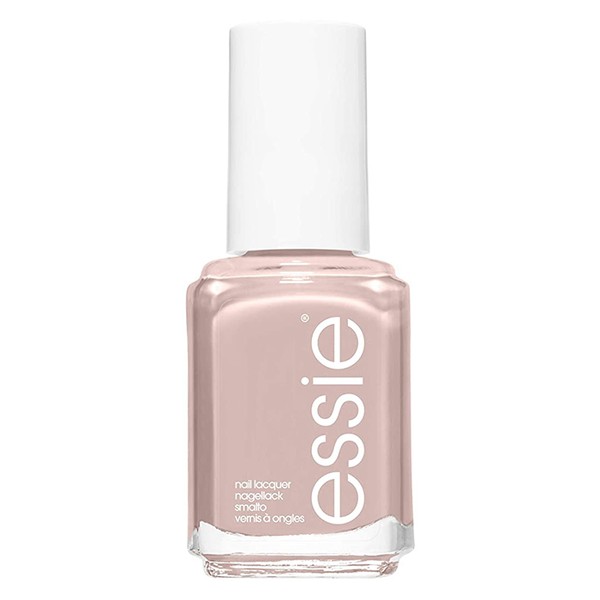
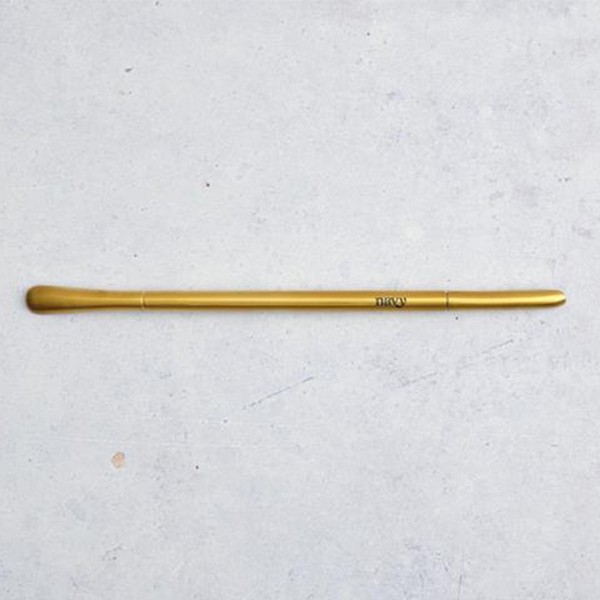
“One of this season’s biggest trends is the ‘cuff nail’ – also known as the ‘reverse French.’ It’s easier than it looks, but requires a steady hand. Start by applying your base coat and a soft, nude shade that compliments your skin tone. Then, take your chosen colour to add the detail around the cuff. To do this, you’ll need a very fine liner brush. My favourite is the Brillbird UK 0 Long Brush – it’s so easy to use, even for beginners. Start in the middle and follow the natural shape of your cuticle, keeping the line as thin as you possibly can. This design is supposed to be dainty, so the line shouldn’t be overly thick. Once you’ve finished, apply a top coat and remember to cap your free edge (the top bit of your nail) with it. It makes your manicure last much longer.”
Trend #3: Diagonal Mani
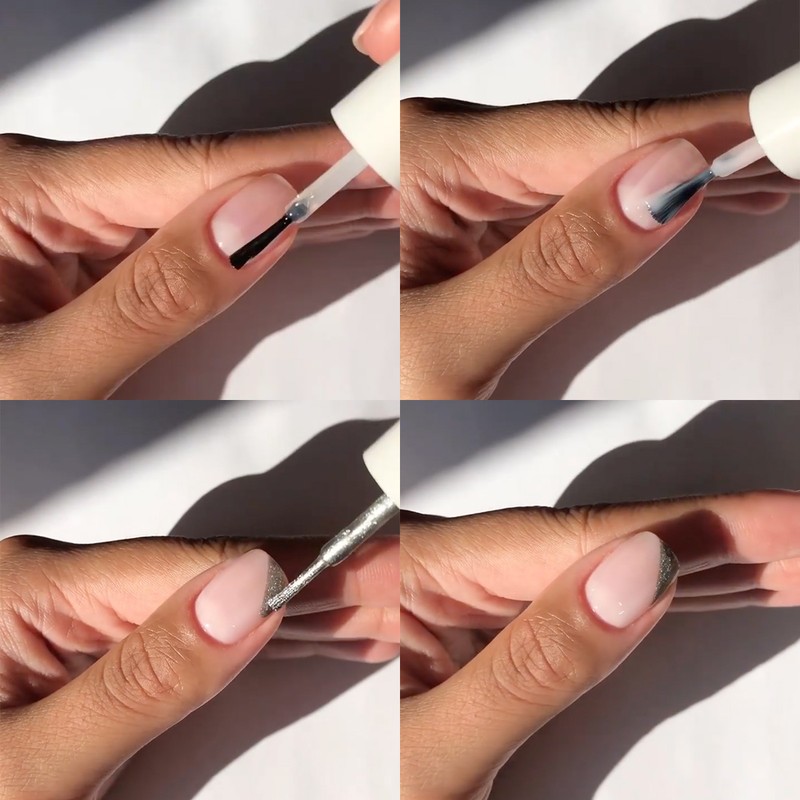
“This is my favourite new trend and one of the easiest ways to add something extra to your manicure. Begin by applying your base coat and again, a nice nude that compliments your existing nail colour. You can use any colour for the base, but nude is the most flattering and wears well. Once this has set, take the brush from your nail polish and draw a slight angle onto your nail tip. Avoid using too much product because you don’t want to flood the side walls of your nail – if you mess up, don’t panic. You can use a clean brush dipped in acetone to tidy things up around the edges. It may take a few attempts, but you’ll get the hang of it. Finish with a top coat to seal everything into place.”
Trend #4: The Micro French
“This is effectively the same process as coloured tips – the only difference being that you want the lines as thin as possible. Use a fine liner brush (like the one mentioned above) to apply the white line with more control. To do this, you’ll need to decant some white polish onto some foil or a nail palette first. If you want to create negative space, or a double lined tip, a brush is even more essential because you need real precision – you wouldn’t be able to create this detail with a regular bottle brush. Remember to go slow and take your time. In terms of shape, anything goes. Just be aware that if you’re working on longer nails, the French tip, or the angled tip, must be thicker and in proportion – unless, of course, you want to add your own twist to the design. If your nails are short, keep your French tip or nail art designs micro thin – it will make your nails appear longer and more elegant.”
Follow @IramShelton
Shop The DIY Nail Edit...
DISCLAIMER: We endeavour to always credit the correct original source of every image we use. If you think a credit may be incorrect, please contact us at info@sheerluxe.com.
