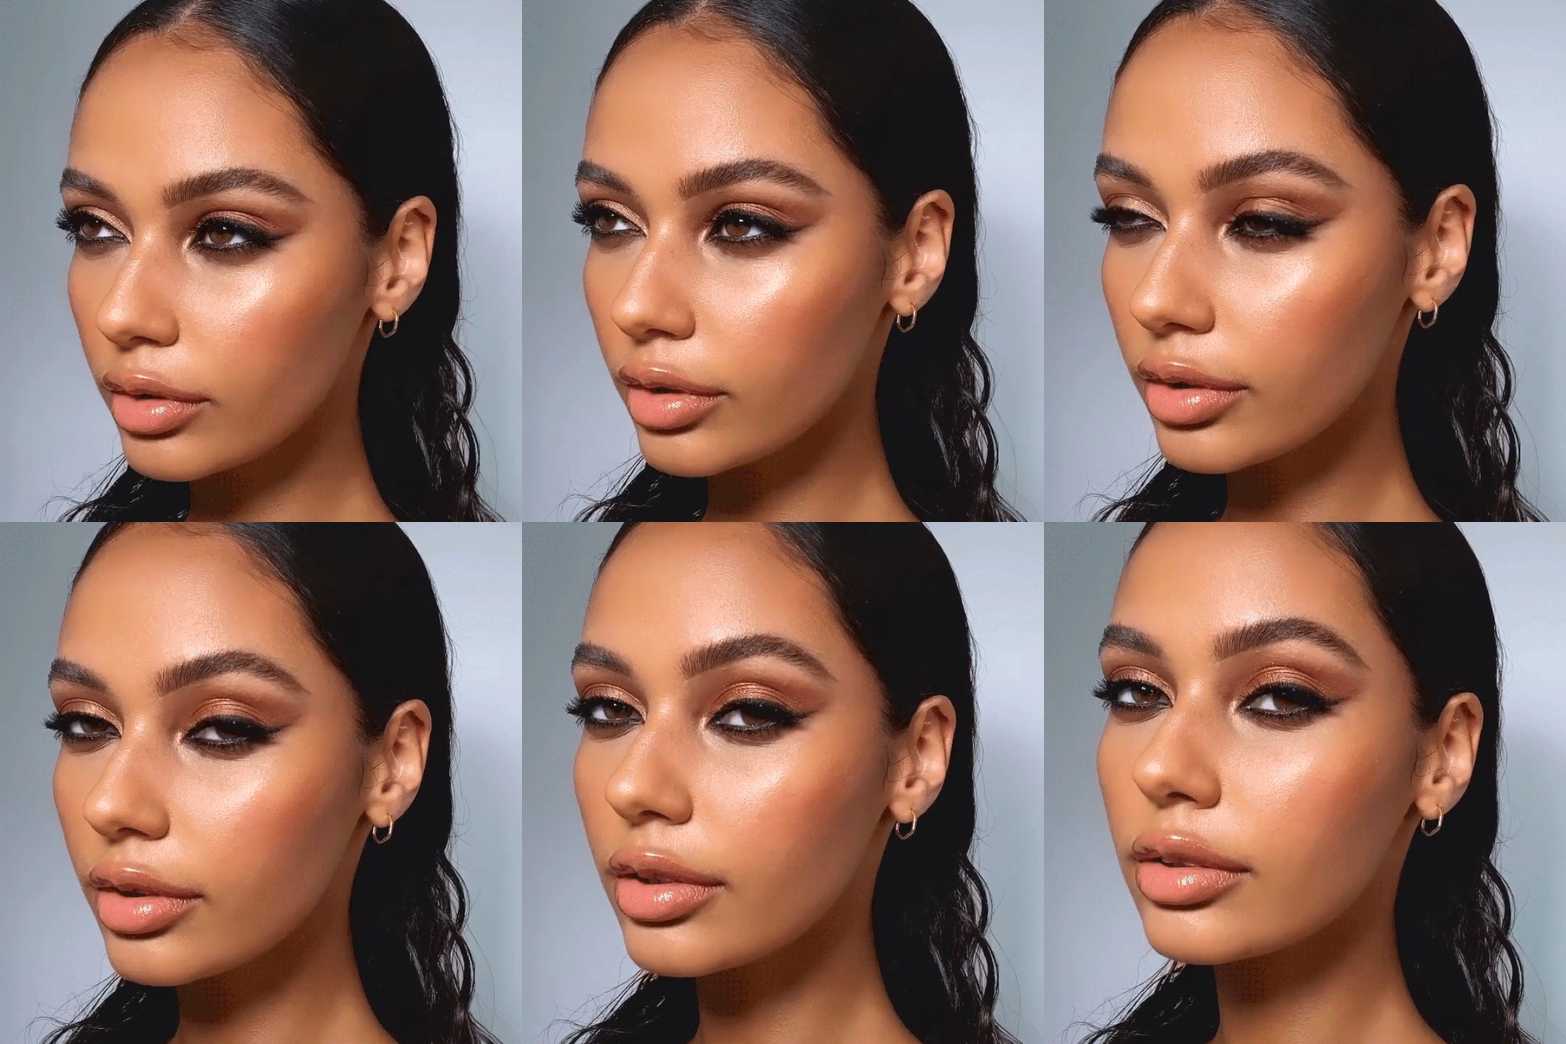
How To Replicate This Sultry Summer Beauty Look
The Look…
“This is my ode to summer. It’s bronzy, golden and glossy, but it oozes glamour. You can adapt it, too, for day or night.”
Step #1: Prep & Smooth Skin
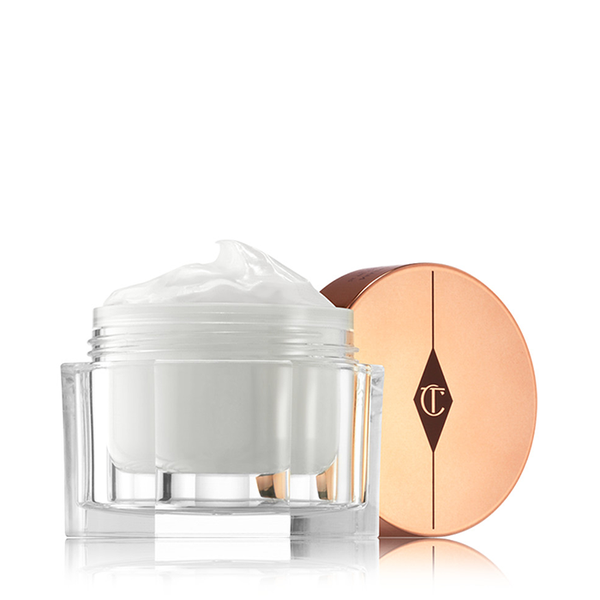
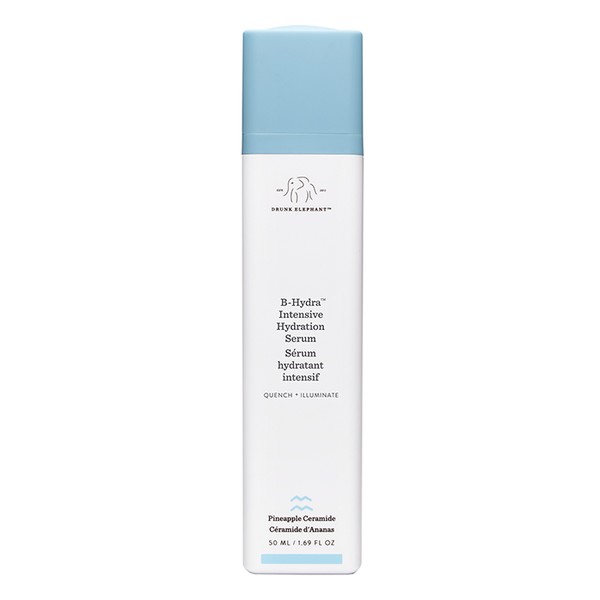
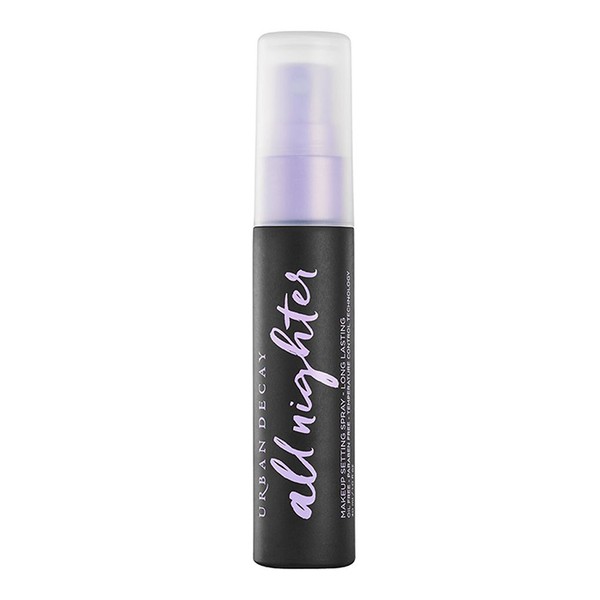
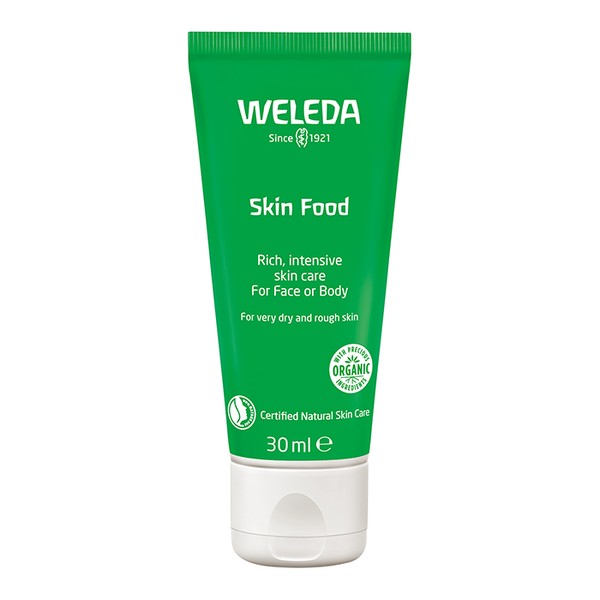
“Whatever look you create, always start with your skincare, and then move onto your foundation. For this look, I began by hydrating the skin with Drunk Elephant’s B-Hydra Serum, then sealed in further moisture with Charlotte Tilbury’s Magic Cream. The latter primes skin perfectly for make-up, but you can find similar textures on a budget, like Weleda’s Skin Food – or just use any priming moisturiser you have to hand. I also love to use a setting spray before and after applying make-up to lock it in all day – it’s a tip everyone should take on board.”
Step #2: Layer Your Base
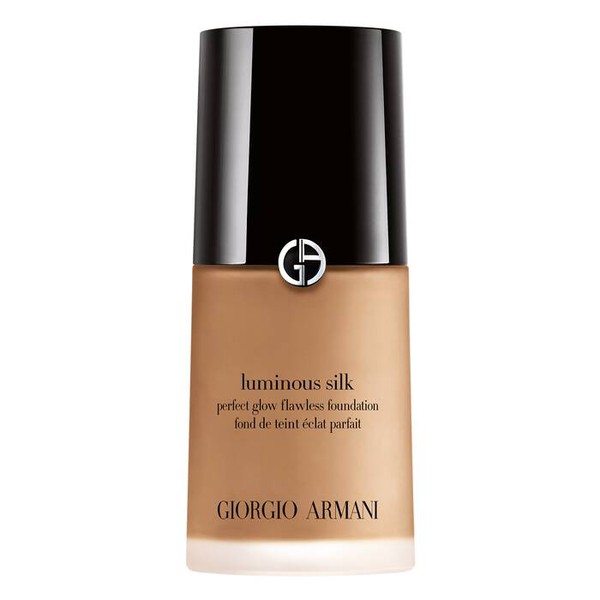
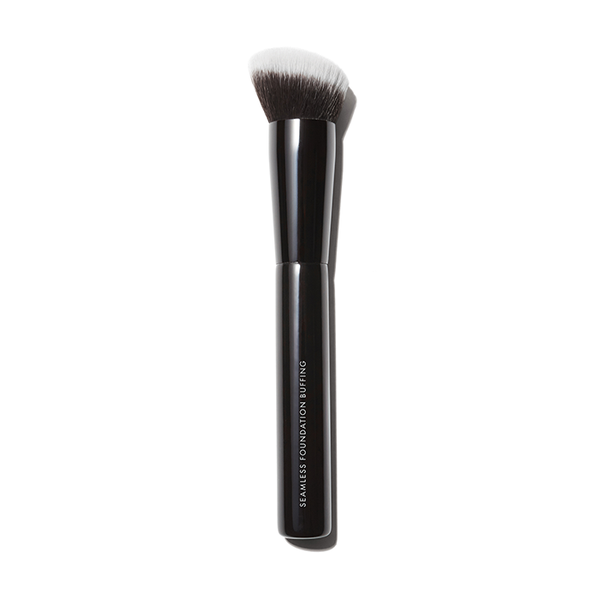
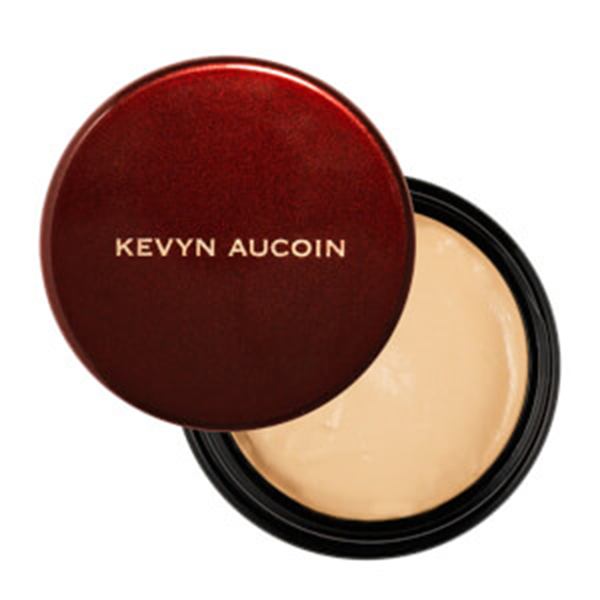
“If there’s one foundation I can recommend for everyone, it’s the Giorgio Armani Luminous Silk, which I used for this look. It has a finish that’s just like skin, but it still manages to even out tone and smooth texture. I applied it with a dense, round brush – I recommend Beauty Pie’s Seamless Buffing Brush – building one light layer at a time, then stippling on additional coverage to areas that needed it most. If you’re replicating this look, my biggest tip is to give your complexion longevity by not over applying product. Doing so won’t allow it to set evenly on the skin, and in turn, it won’t last as long. For this look, I tapped on some concealer, too, just to give some additional coverage in key, target areas – like under the eye. Both Urban Decay’s Stayed Naked Concealer and Kevyn Aucoin’s Sensual Skin Enhancer are great.”
Step #3: Focus On The Brows
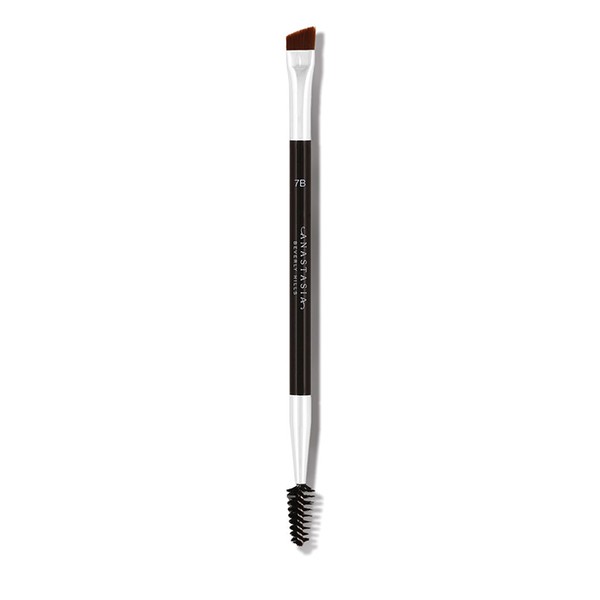
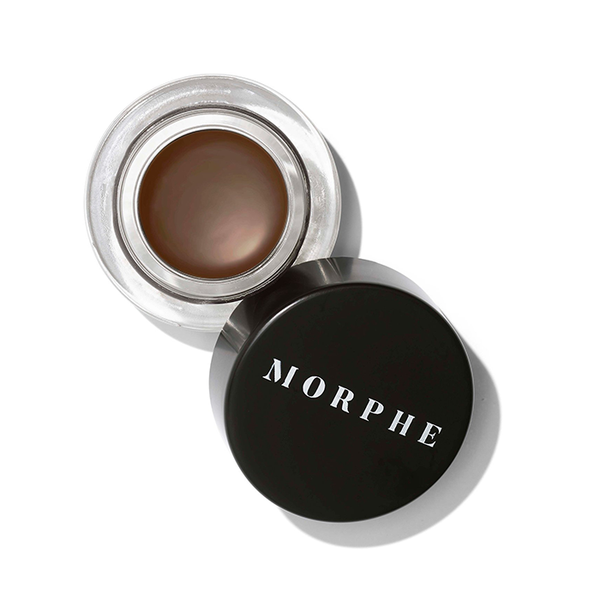
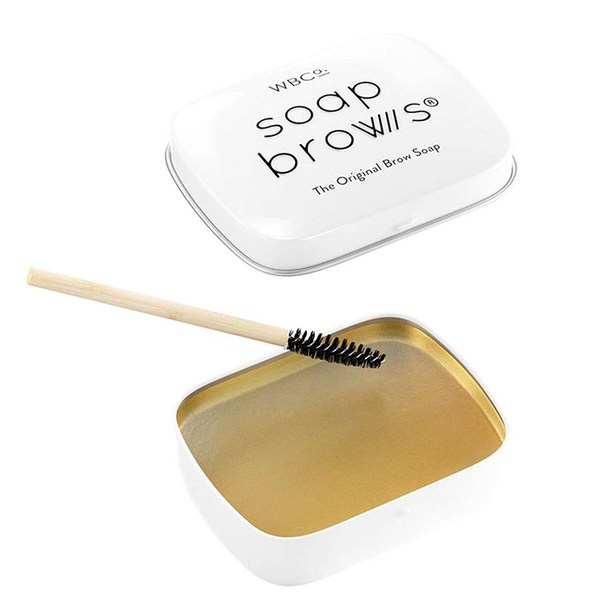
“Immediately after base, I move onto brows. I love my signature fluffy brow, but as this look is a bit more glam, I wanted to give them even more definition. To do so, I brushed West Barn Co’s Soap Brows through Jamilla’s arches to lift and hold hairs in place – you can achieve similar results with a gel or wax. After this, I swept through the Morphe Brow Pomade with a fine, angled brush to accentuate the arch and tail of the brow – doing this will help you to elongate the appearance of your entire eye area. Try first to apply product towards the ends of your brows – where you want most definition – then taper a small amount of product through the front of the brow to ensure a softer finish, with texture at the forefront.”
Step #4: Move On To The Eyes
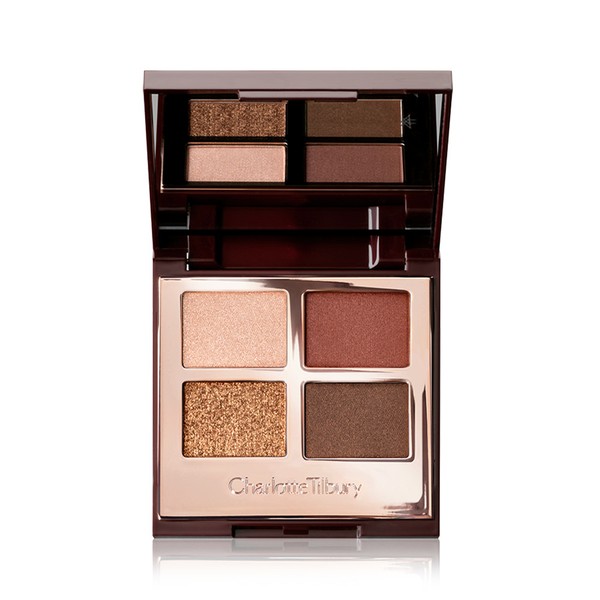
“For this look, I used Charlotte Tilbury’s Bella Sofia Eye Kit – it’s so straightforward. The first layer was the shade ‘Star Gold’, which has a creamy, metallic texture that can be sheered out or built up. I used two layers of this under powder eyeshadow so the gold metallic hues would really flash up. I then went in with the whole palette, working clockwise around it from top left to bottom left, enhancing with the copper brown shade in the socket, then smoking along the lash line with the deeper brown tone, before adding a hint of sparkle to the centre of the lid. There are many palettes available, but Charlotte’s are some of the easiest to navigate. To create similar depth, play with metallic finishes to add dimension to your eyes, as well as using deeper tones towards the edges of your eyes for an almond, feline shape.”
Step #5: Use Kohl Pencils
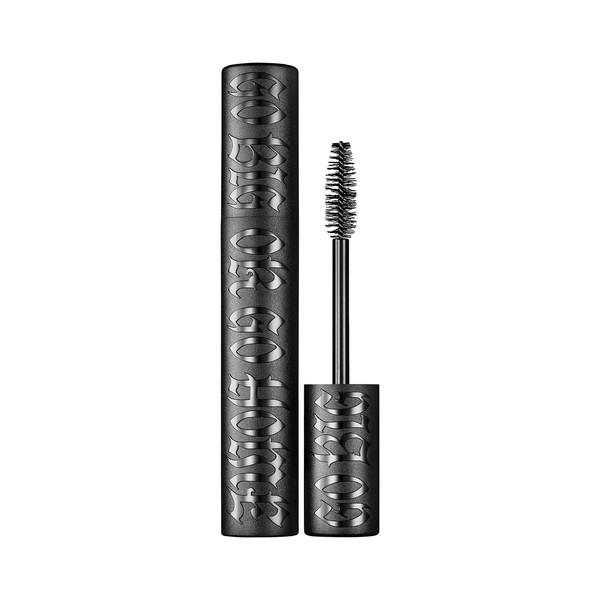
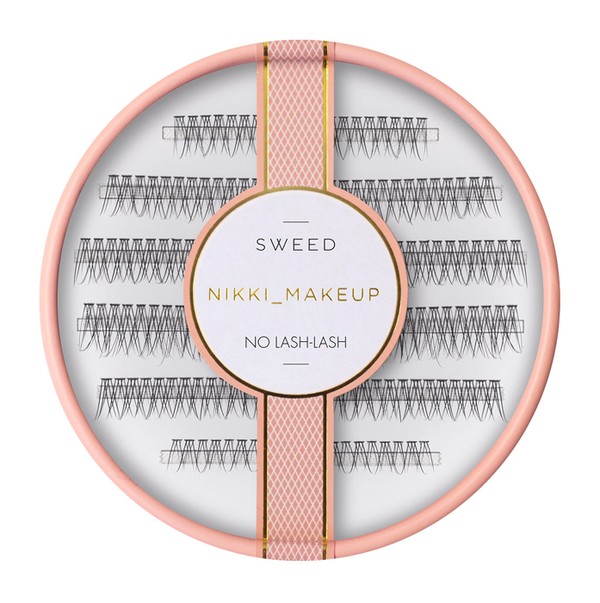
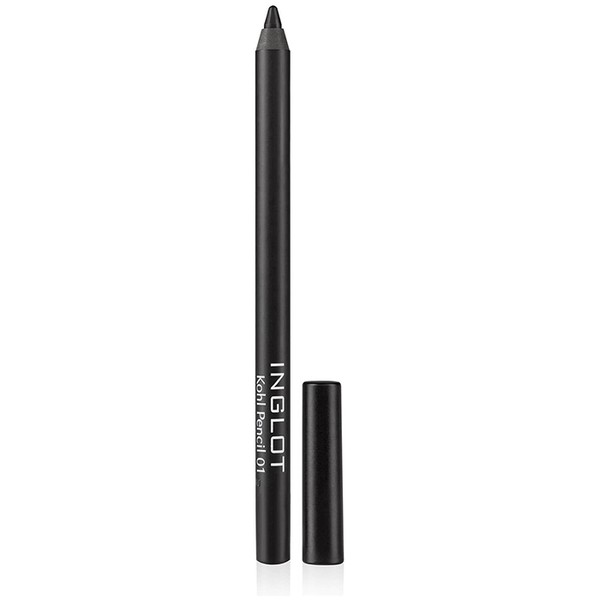
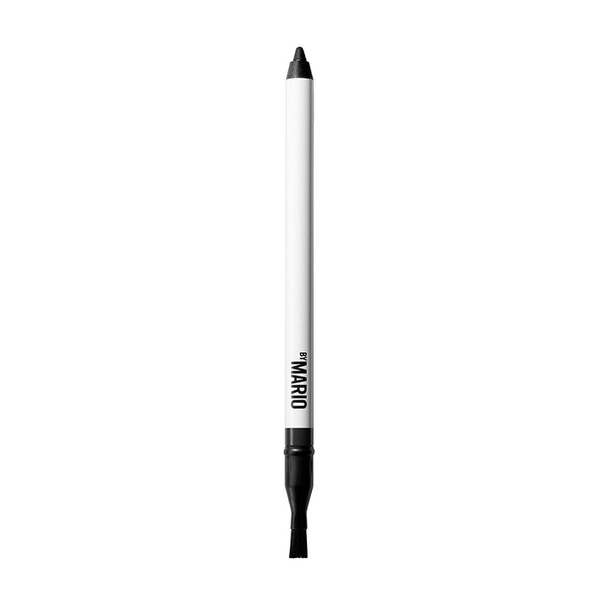
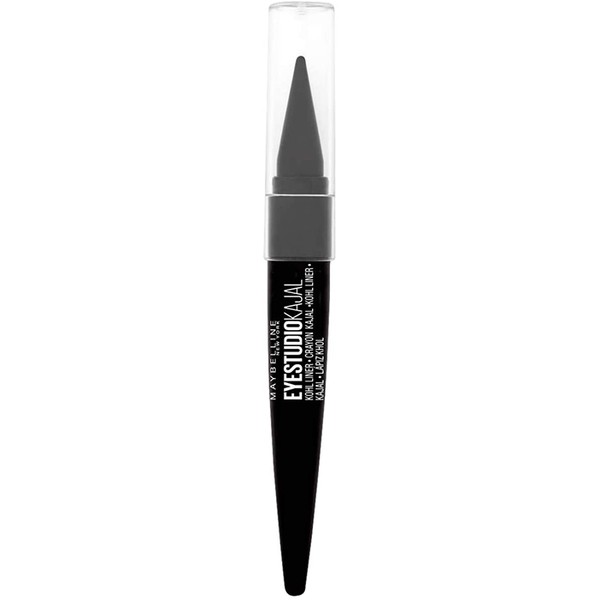
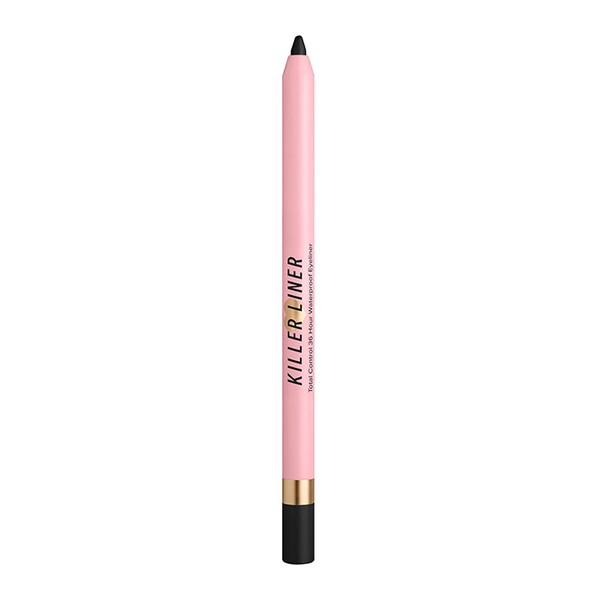
“Especially for a look like this, avoid liquids. Pencils – especially cream or gel ones – allow you to soften the edges, as well as tweak and intensify the flicks with ease. To replicate this flick here, map out your winged liner first. Do this with the eye open and relaxed – it will help give you a flattering angled wing for your eye shape every time. Keep your liner on the lid, close to the lash line to create depth right at the root of your lashes – remember, adding too much thick, black liner will only make your eye look more closed. My second tip is to gently sketch your liner out first. Once you’re happy with the shape, go back in with another layer to give the desired intensity. Coat lashes with an intense, black mascara – add some falsies too, if you want bigger impact.”
Step #6: Keep Lips Neutral
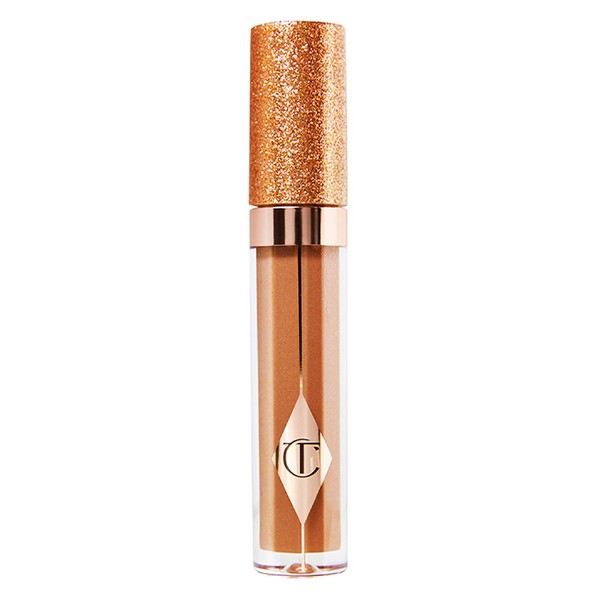
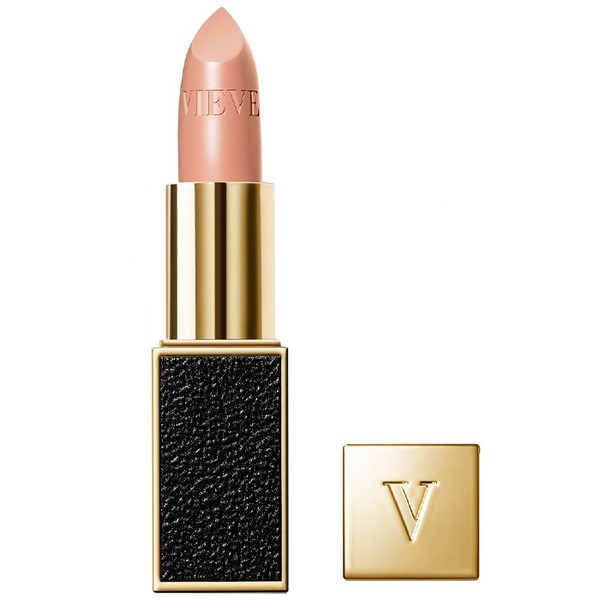
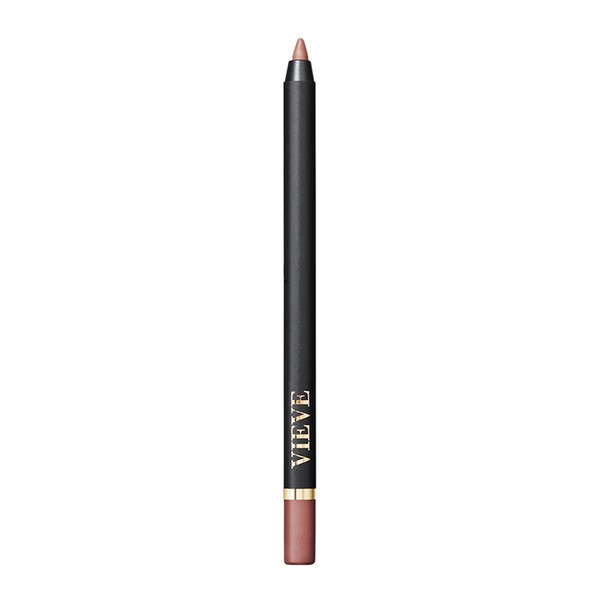
“For a look like this, you want to keep lips neutral to balance out the eyes. I used my trusty VIEVE Lip Definer in Velvet Sands and the brand’s Modern Matte Lipstick in ‘Vieve’ – both are an ideal combination for a true nude lip. As this was a summer look, I topped it off with Charlotte Tilbury’s Champagne Diamonds Jewel Gloss – a gorgeous gold shimmer that catches the light well. You can do this using any gloss you have at home.”
Step #7: Finish By Subtly Contouring Skin
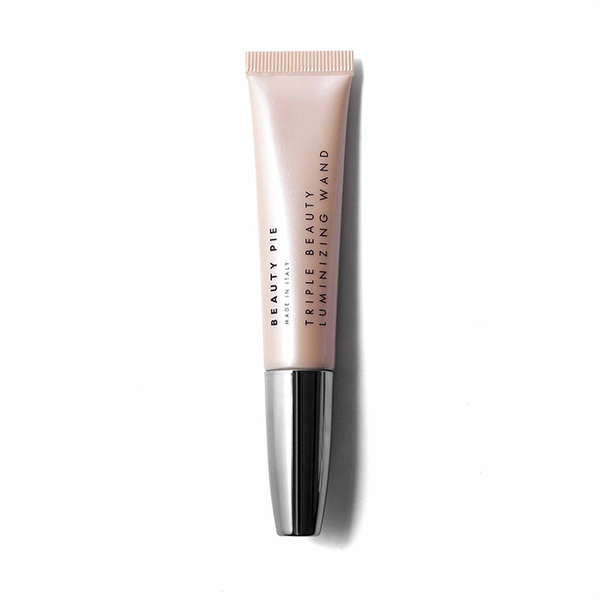
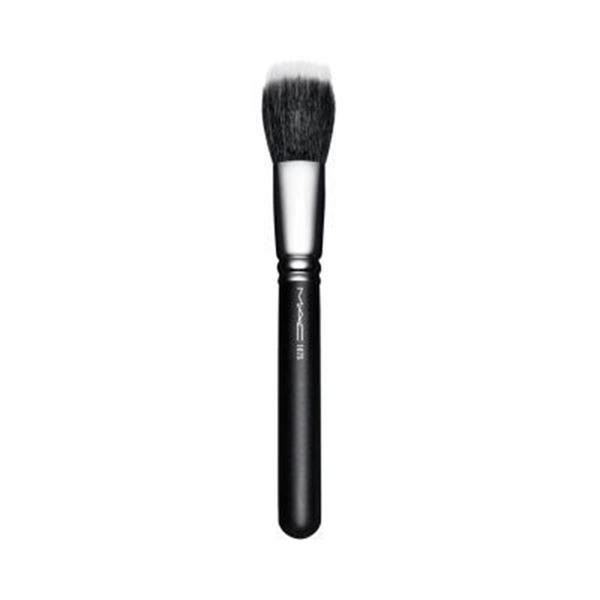
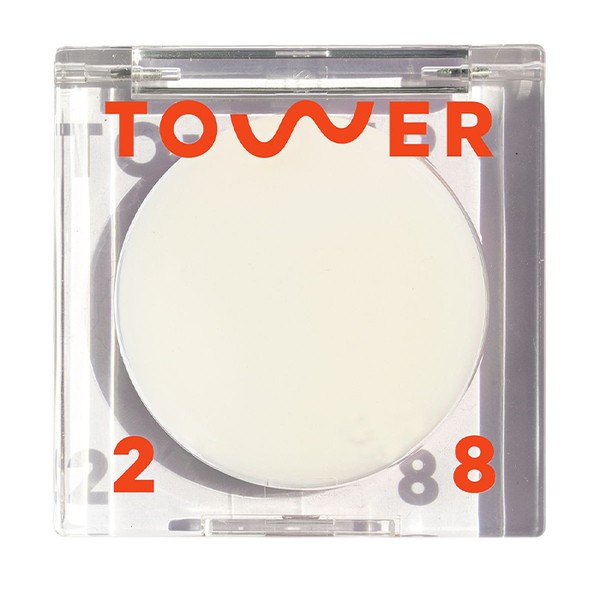
“You can do this after your foundation, but I often do it as a final step. For it, I used Beauty Pie’s Contour Wands as they’re so lightweight and creamy, blending out easily for a soft, diffused effect. I apply these with a Duo Fibre Brush, like MAC’s 187S, which helps you gently blend into targeted areas. Like I’ve mentioned before, start with a small amount of product, then build – it’s easier to add more than take it away. Finish off by using your fingers to tap on a cream highlight onto the tops of the cheekbones – it reflects the light and gives a healthy finish to the skin.”
Final Takeaway Tip…
“Good make-up is all about technique – especially with a look like this. Take your time to perfect your technique, so that no matter if you have five minutes or five hours, it will always look flawless.”
Follow @LeviJadeMakeUp For More Tips & Inspiration
DISCLAIMER: We endeavour to always credit the correct original source of every image we use. If you think a credit may be incorrect, please contact us at info@sheerluxe.com.
