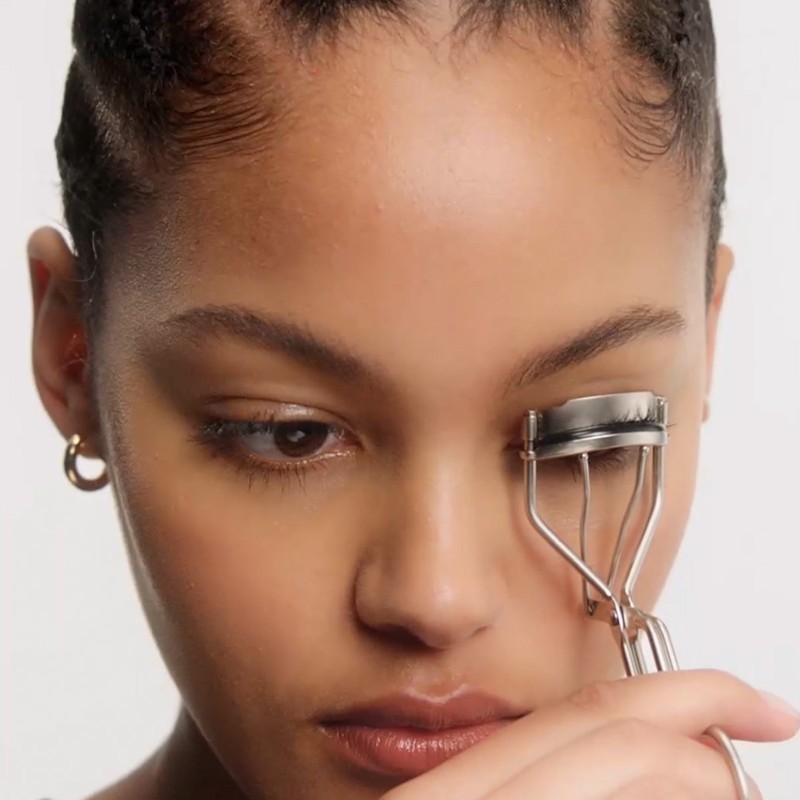
How To Curl Your Lashes Like A Pro
Invest In The Right Pair
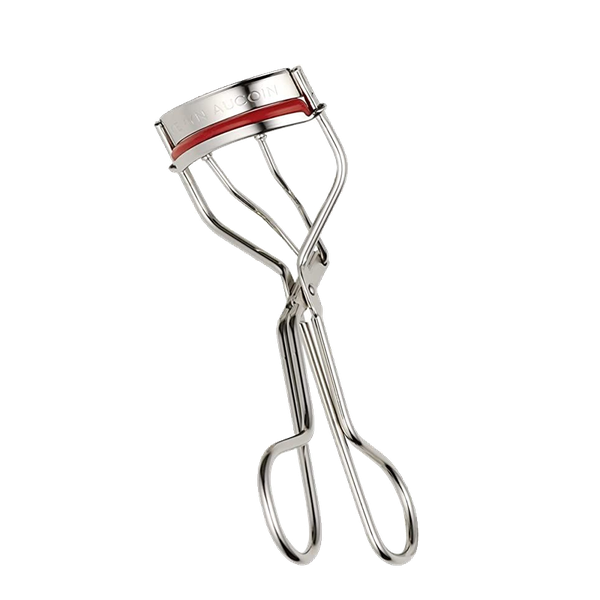
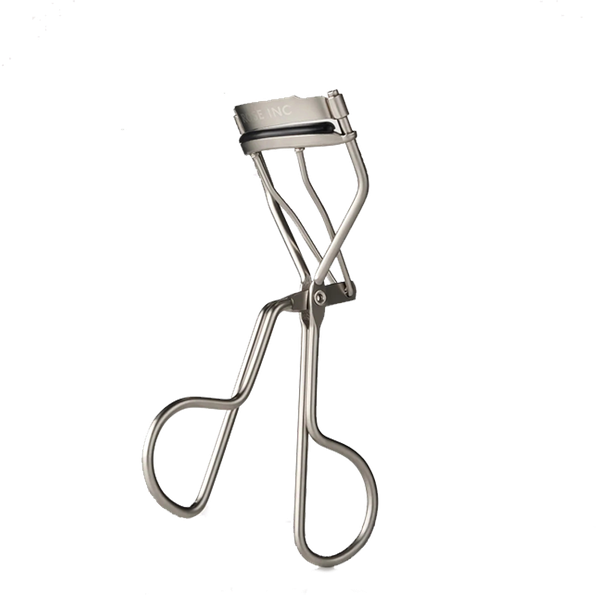
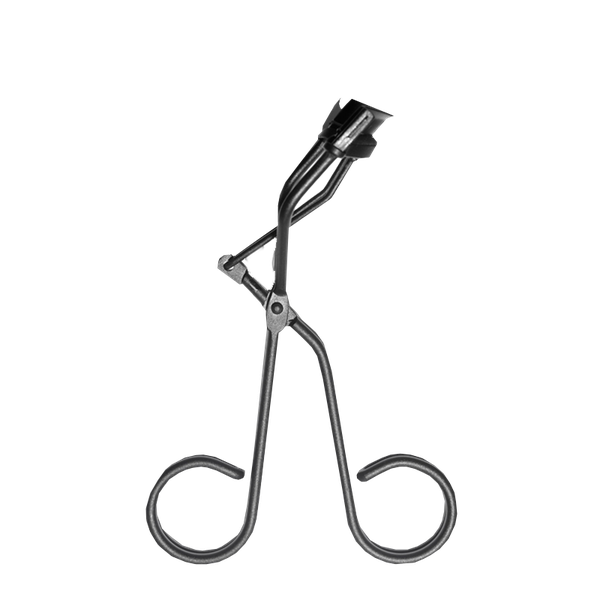
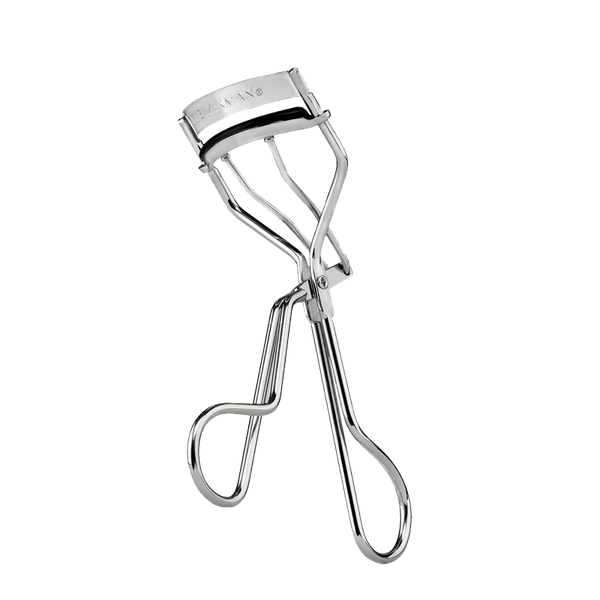
“Not all eyelash curlers are created equal. There is a definite difference between the ‘gold standard’ pairs and any older and cheaper ones you might find. The latest ones promise better longevity of curl and they are easier to work with. I always have two pairs of Shu Uemura curlers in my kit but I also rate the ones by Kevyn Aucoin.” – Jessica
“It is important to invest wisely – you get what you pay for with these types of tools. The Kevyn Aucoin ones, for instance, have a red band, so it is easy to see where to place your lashes. Simple things like this make all the difference. As for the ones by Surratt, they open nice and wide, so there is plenty of space to sandwich your lashes inside.” – Sophie Tilley
Use Curlers On A Clean Lash
“Always use your curlers before you have applied any mascara. If you use them on top of products, things will get very sticky – clumps of mascara will come off and the curl of your lashes won’t be as curved; instead, you’ll have a sharp, severe edge. Plus, your curlers will just get messy and harbour bacteria.” – Sophie
Take It Slowly
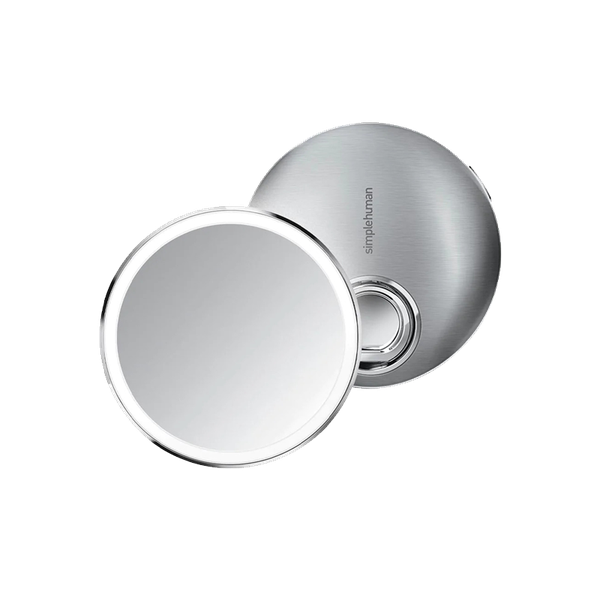
“Using lash curlers takes a bit of practice, so do set some time aside. Tilt your head back slightly and look down into a desktop mirror – I love the ones by SimpleHuman as they magnify and have built-in lights, so it is really easy to see what you’re doing. Looking downwards allows you to get the curlers right down to the root of your lashes, meaning maximum impact.” – Sophie
Start In The Middle
“Once you have got your curlers in place, I recommend focusing on the centre of the lid, lifting the lashes in this area as much as possible. Slowly move your curler to the outside of your lid, using a very gentle pumping action as you go, holding it for roughly ten seconds. This will give you a full, natural-looking curl across your entire lash, rather than just in one spot – it sounds simple, but it makes a huge difference moving across the lash line this way. Once you have done your first curl at the roots, you then want to move the curler up to the middle of the lash length and press again. This will give you a full, smooth and even curl.” – Jessica
Prioritise The Outer Lashes
“If time is of the essence, prioritise your outer lashes. This is the part of the eye that you want to look long and lifted. Focus on this area by using your curlers from the side – this technique will allow you to catch the outer lashes first. Once you have finished, accentuate the shape by ensuring you take your mascara through those outer lashes in an upward and outward motion. It will emphasise the shape and elongate your eyes – perfect for a party-ready flick.” – Sophie
Put Your Hairdryer Down
“I have heard horror stories of people using hairdryers on their curlers to warm them up pre-application. As most curlers are made of metal, they will retain heat very efficiently and then have the potential to scold your eyelid. The best designs don’t need any heat enhancement – your natural warmth is enough, so steer clear of any ‘hacks’ like this.” – Sophie
Repeat The Process
“It is key to go over your lashes a few times – there is no such thing as curling too much, and if you do, you can always wet the lashes to bring them down a little. Once you have created your initial curl at the base of your lashes, move the curlers a few millimetres up the lash and give another light squeeze, focusing on the tips too. Another technique I do on myself and my clients is using my other hand to ‘lift’ the eyelid ever so slightly pre-curling. Do this by placing one – or a couple – of your fingertips under your brow bone, then pull upwards gently. This will help your lashes stand out, so you know exactly where to place the curlers.” – Sophie
Clean & Replace Pads Regularly
“It is important to clean and replace the small pads inside your eyelash curlers on a regular basis. Otherwise, the tool itself can get dirty and accumulate all sorts of bacteria and grime, making it less effective over time. For the pads, try and replace these monthly, or whenever you notice damage. As for cleaning, try to do this once a week with soapy water and a cotton pad – always make sure your curler is totally dry before using it to prevent any slipping.” – Jessica
Apply The Right Mascara
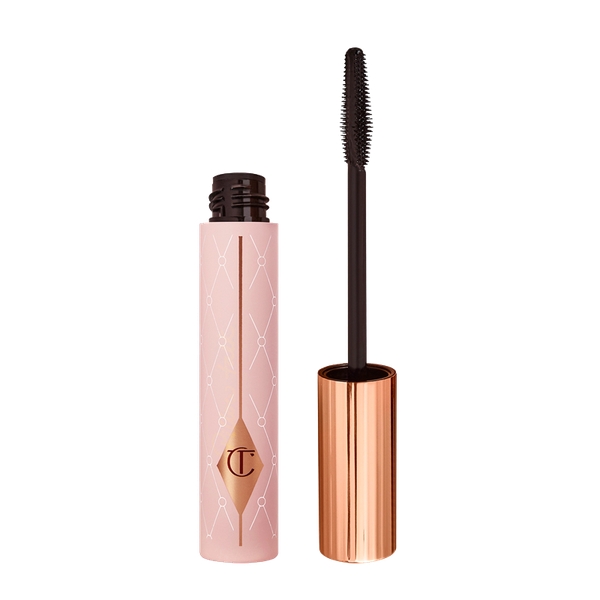
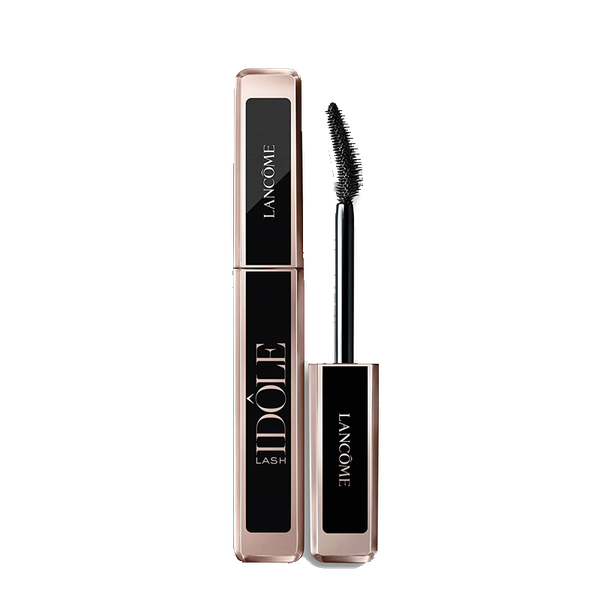
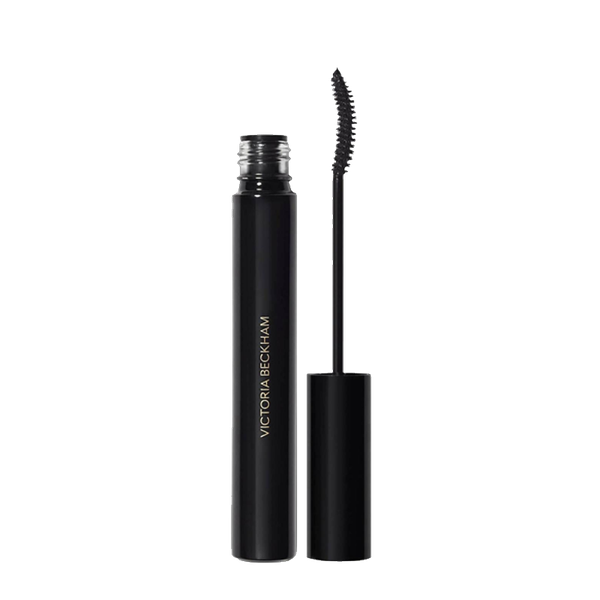
“Once you have finished curling, apply a good mascara. The right one will help solidify your curl and keep it lifted. Take the brush right to the roots of your lashes and wiggle it through to get even coverage. Then, really apply pressure and push against your lashes with your mascara, following the curl you created. Let the first coat of mascara go slightly tacky, then follow with a second coat. My go-tos are Victoria Beckham’s Future Lash Mascara – this never budges – and Charlotte Tilbury’s Pillow Talk Push Up Lashes Mascara, which gives seriously impressive definition post-curl. Finally, you can’t go wrong with Lancôme’s Lash Idol. It builds beautifully to give a full-on, but clump-free lash.” – Jessica
Follow @SophieTilley.UK & @JessicaKMakeUp for more beauty tips & product advice
SHOP THE EXPERT APPROVED PICKS
DISCLAIMER: We endeavour to always credit the correct original source of every image we use. If you think a credit may be incorrect, please contact us at info@sheerluxe.com.
