Rice 101: How To Cook With This Store Cupboard Staple
The Main Types Of Rice
Italian embassy head chef Danilo Cortellini talks us through the main varieties – and how to cook with them…
BASMATI
Best for: Indian dishes
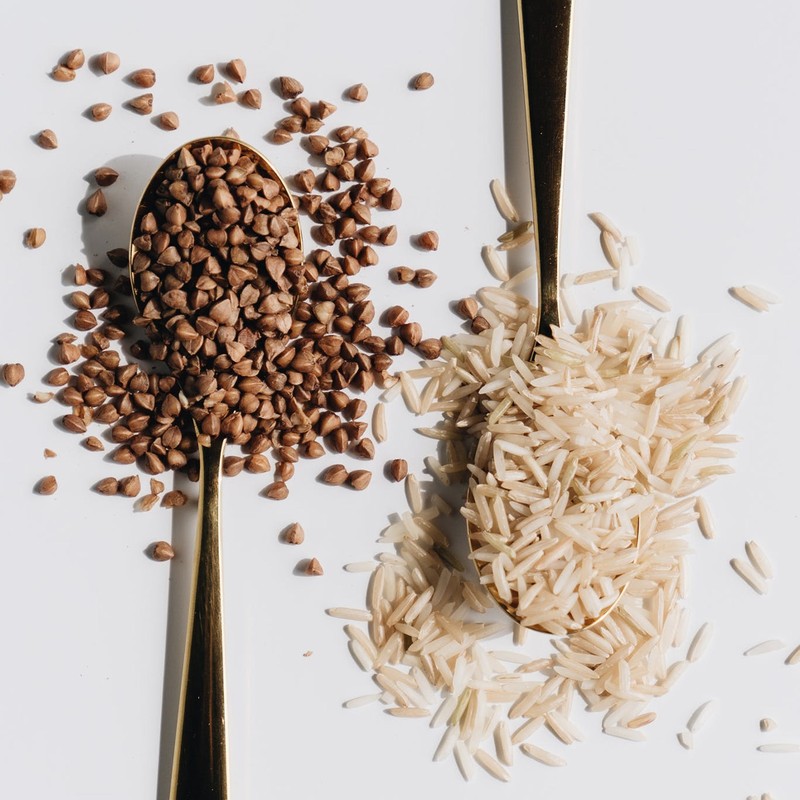
Basmati is a fantastic rice usually used for Indian dishes and curries as the grain is long, slender, non-sticky and fluffy when cooked. Start by washing and draining the rice first when cooking basmati to help remove its starchy coating. A simple way to do this is by soaking in water, draining it and then repeating the process until the water runs clear. The easiest way to cook basmati rice is to boil it in water. I often find people don’t know how much they need to add to water, but my top tip is to use double the quantity of water to rice. Stir the rice and water slowly and then cover the pan loosely until it returns to the boil, which usually takes around 8 minutes, then cook according to the packet instructions.
LONG GRAIN
Best for: Versatility
Long grain is one of the most popular rice types, thanks to its subtle flavour. It’s also available in several varieties including aromatic, white and brown, which makes it very versatile. Like basmati rice, you need to use double the amount of water to the amount of rice, and you should cook it in the exact same way. Rinse, boil and cover until all the water has been absorbed. Resting your rice after it is cooked is also a useful technique. Simply pop it to one side once you’ve finished cooking it and cover with the tea towel. This will let the rice absorb any remaining water. I then use a fork to make the rice extra fluffy and split up the grains before serving.
FRAGRANT RICE
Best for: Thai sticky rice
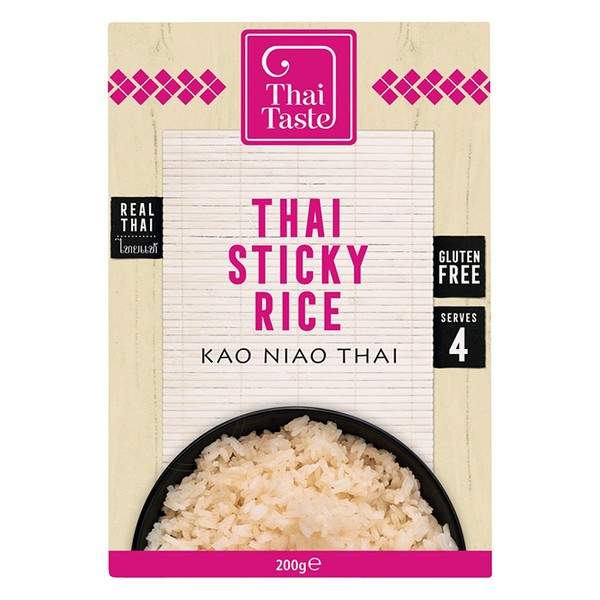
Fragrant rice is soft and slightly sticky, bringing a unique flavour and texture to your dish. It’s the ideal rice for if you’re making any Thai or Vietnamese dishes, as it complements the flavours and spices perfectly. Fragrant rice is best cooked in the same way as basmati and long grain rice, but because it is slightly stickier, it’s best to leave it for roughly five minutes before fluffing. Fragrant rice is also great for using in a stir-fry. If you’re using freshly cooked fragrant rice, set aside for 30 minutes before serving, due to its sticky texture.
MEDIUM GRAIN RICE
Best for: Sushi
Medium grain rice isn’t as commonly used compared to others, but it’s a great grain to use. Uncooked medium grain rice is almost oval in shape, and contains a lot of starch, making it sticky in consistency when cooked – an essential element for when making sushi. It is also commonly used for paella and stir-fried rice dishes. For this rice, I would use the same ratio of water to rice, i.e. one cup of rice to one cup of water. As with all rice, make sure you wash the grains first to remove the excess starch.
ARBORIO
Best for: Risotto
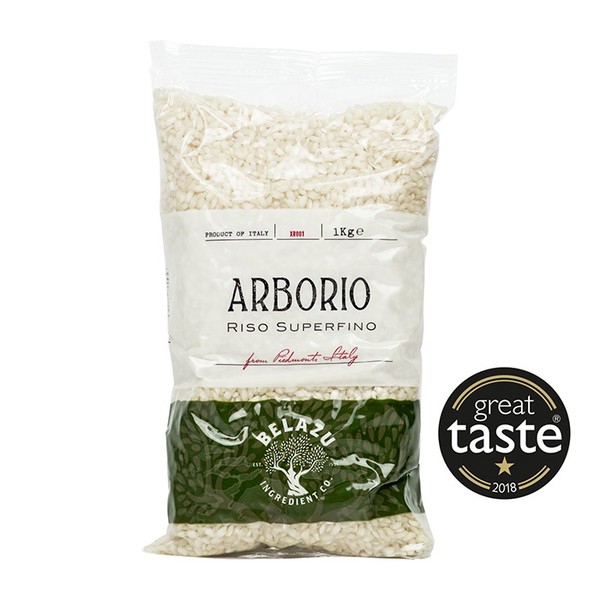
Being Italian, risotto is my favourite grain to cook. I find the best way to cook risotto rice is by following three key steps. The first is to lightly toast the risotto grains in a dry pan with no oil. This allows the rice to reach a higher temperature, so it is coated uniformly and stays al dente for longer. I then stir the risotto very steadily, adding a little stock at a time, stirring often. The last step in making a risotto is called ‘mantecatura’, and this is the key step – with the right movements you can make the risotto creamier and increase its natural ooziness. Add some grated grana padano cheese and butter to the rice and stir with energy to incorporate extra air until the risotto is nice and creamy.
BOMBA
Best for: Paella
Bomba rice is grown in different regions of Spain, mainly in Valencia and Delta del Ebro. Bomba can absorb three times its volume in liquid but expands only in width and not in length. These characteristics make it particularly suitable for rice dishes such as paella, but it is also commonly used in soups. Unusually for short grain rice, it is not sticky, which helps give paella its distinctive characteristics.
PUDDING RICE
Best for: Desserts
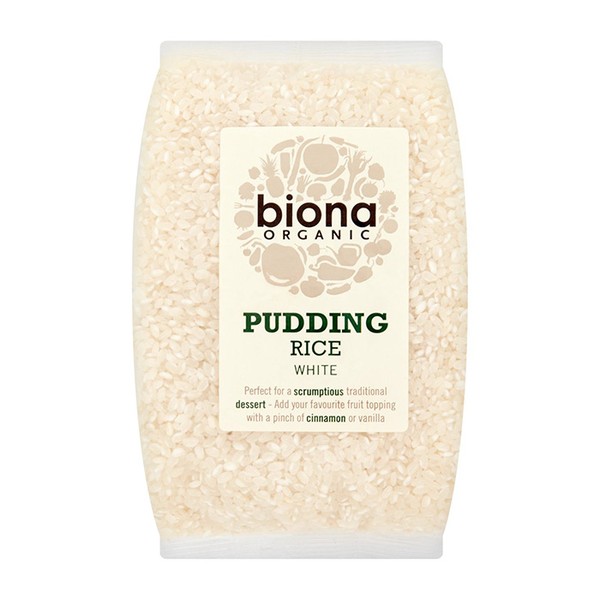
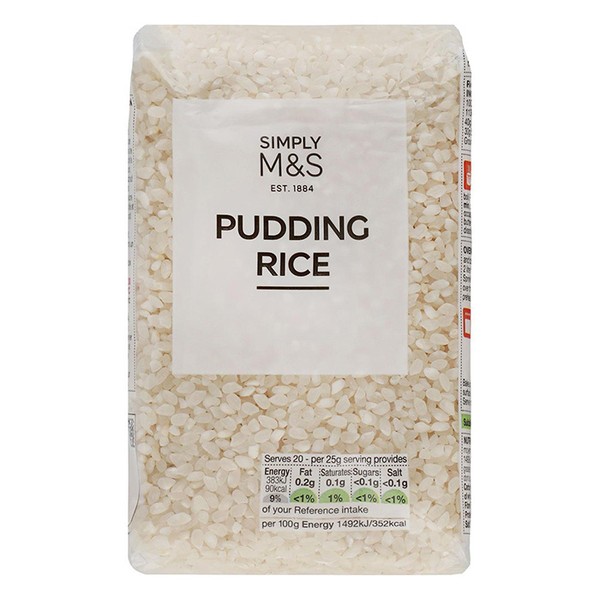
Another grain originating from Italy is pudding rice. It is a short grain rice that is chalky in appearance and clings together to make that creamy and stodgy rice pudding texture. Pudding rice should be prepared in the exact same way as other grains of rice and should always be washed first. Many will often bake pudding rice, but it can be easily made on the hob over a low heat.
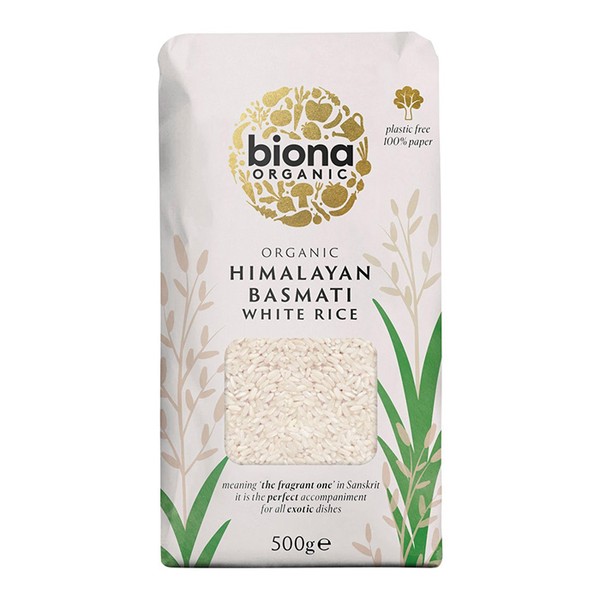
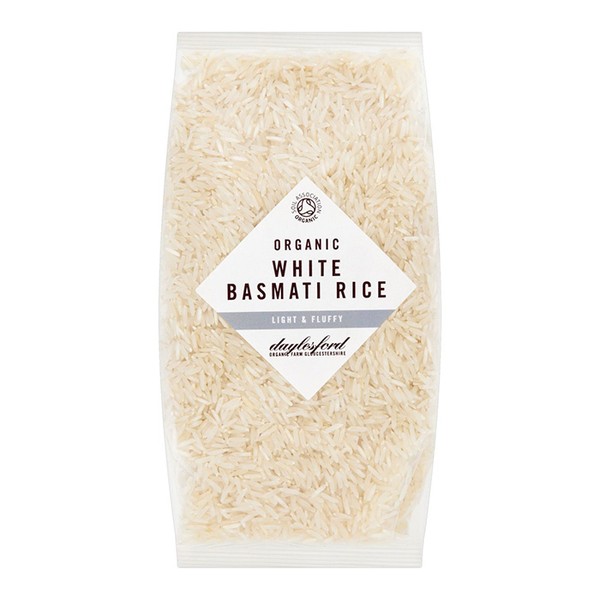
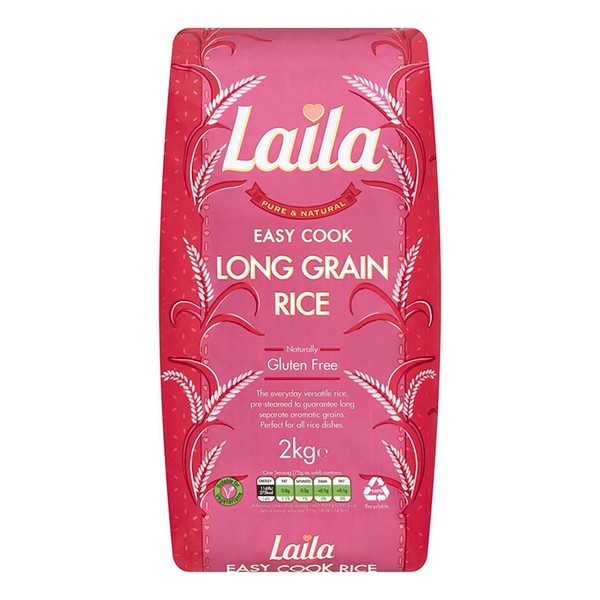
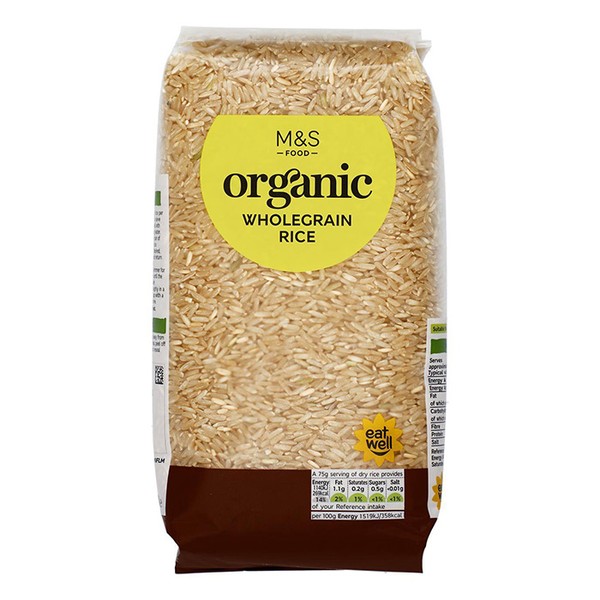
Inspired to get cooking? Here’s every grain you need…

Grabbed your rice? Here are six crowd-pleasing recipes to try at home…
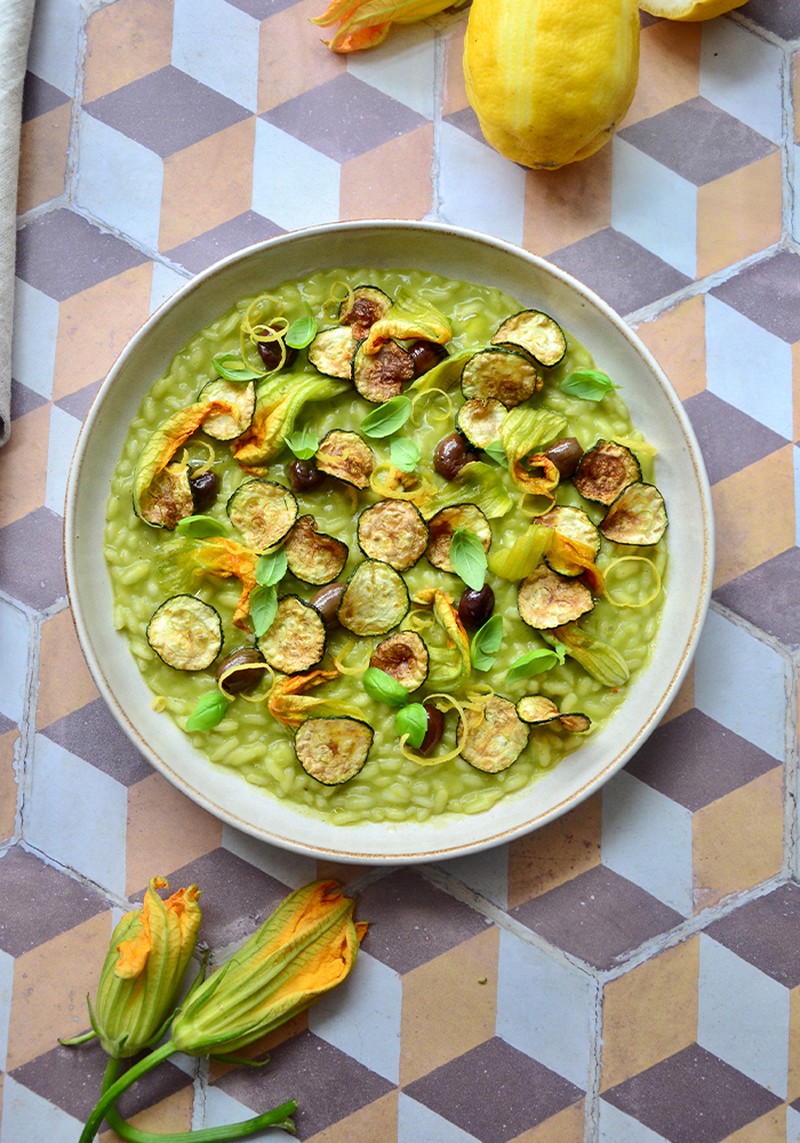
Courgette, Basil & Black Olives Vegan Risotto: Danilo Cortellini, Italian Embassy
Start by preparing the courgetti puree. Sweat half the chopped onion in a casserole pan with 2 tbsp of olive oil. When golden, add the garlic and cook for 5 more minutes. Now add 3 of the courgettes, thinly sliced, season with salt and pepper and cook on a medium heat until soft (about 6-7 minutes). Add at least 15 leaves of basil and blend well straight away with a mixer or hand blender. Set aside and let it cool slightly.
Gently fry the chopped onion in a small casserole dish with a drizzle of extra virgin olive oil and a pinch of salt for about 6-7 minutes on low heat until golden and a little translucent.
In a large casserole dish, start to dry toast the rice on a low heat with a pinch of salt, without adding oil or fat. This method allows the heat to reach the core of each rice grain, resulting in a more uniform al dente rice. Keep stirring the rice occasionally, so the rice does not catch on the bottom of the pan or burn. When the rice is very hot, pour the wine in. Let the alcohol evaporate for a few seconds, set the cooking time to 15-17 minutes (accordingly to the packet instructions) and add the simmering stock a ladle at a time, little by little. Remember, the risotto needs to always have a good simmer during the cooking time. Gently stir the rice every now and then, and make sure the rice is always covered with stock.
While the risotto cooks, thinly slice the courgette left, let it sit with a pinch of salt for a couple of minutes and then pat dry the natural water from it. Shallow fry in a pan with a drizzle of extra virgin olive oil until brownish and crispy in spots. Set aside.
When halfway through the cooking time, add the cooked onion and then start to add the courgette and basil puree gradually.
Once the time is up, taste the risotto and if you’re happy with the texture remove it from the heat. If you want the rice a little bit softer, cook for another minute. Add 2 tbsp of extra virgin olive oil and stir to incorporate extra air until the risotto is nice and creamy. At this stage I like to add a few drops of lemon juice and if the risotto dries up, you can still add a little bit of hot stock. Season to taste.
Plate the hot risotto straight away. Scatter over the courgette slices and a few olives for each plate. Garnish with the basil leaves and finish with lemon zest for extra aroma.
Visit DaniloCortellini.com
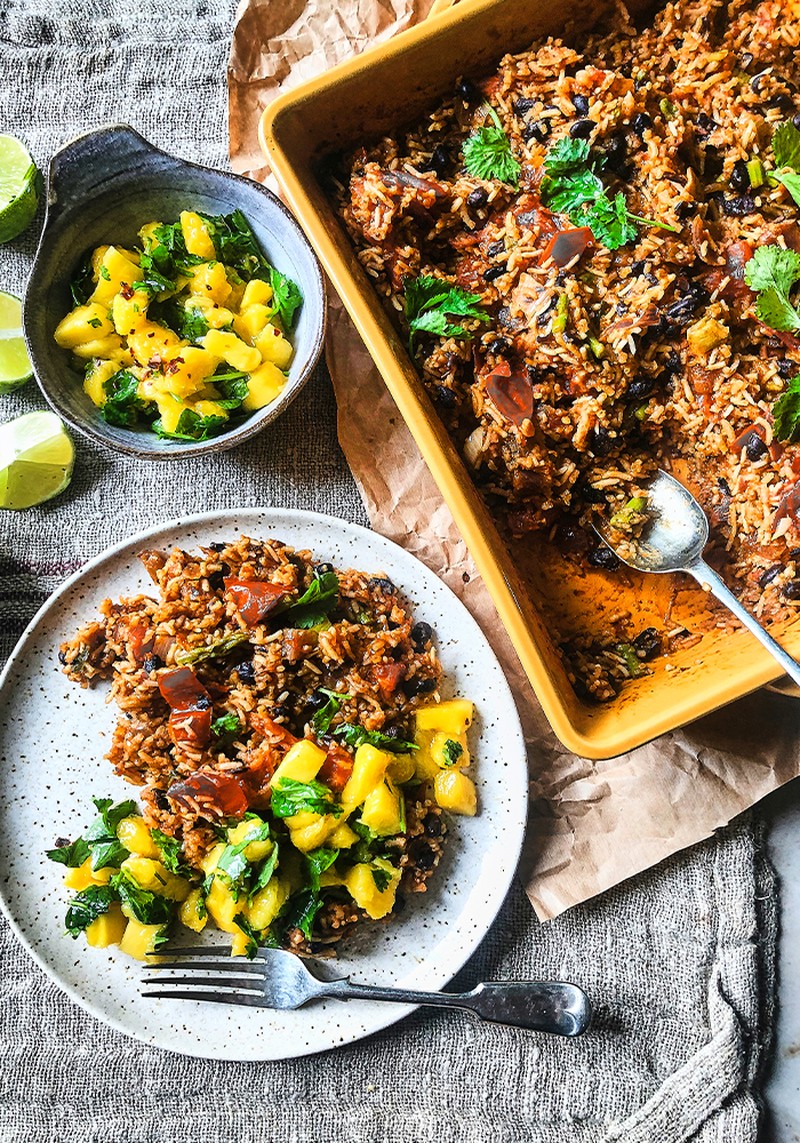
Baked Mexican Rice With Beans & Greens: Niki Webster, Rebel Recipes
Preheat oven to 180°C.
Combine all ingredients into casserole dish and stir. Cover tightly with foil then bake for 15 minutes.
In the meantime, on a medium heat fry the onion for 8 minutes with the olive oil. Add the garlic and spices and stir to combine. Add the chopped tomatoes and sun-dried tomato paste and simmer for 6 minutes until the tomatoes have started to break down.
Remove the rice from the oven and add the tomato mix to the rice. Stir to combine.
Bake for a further 15 minutes or until the rice is tender.
To make the salsa, add all the ingredients to a bowl and mix to combine.
Serve the salsa with the baked rice.
Visit RebelRecipes.com
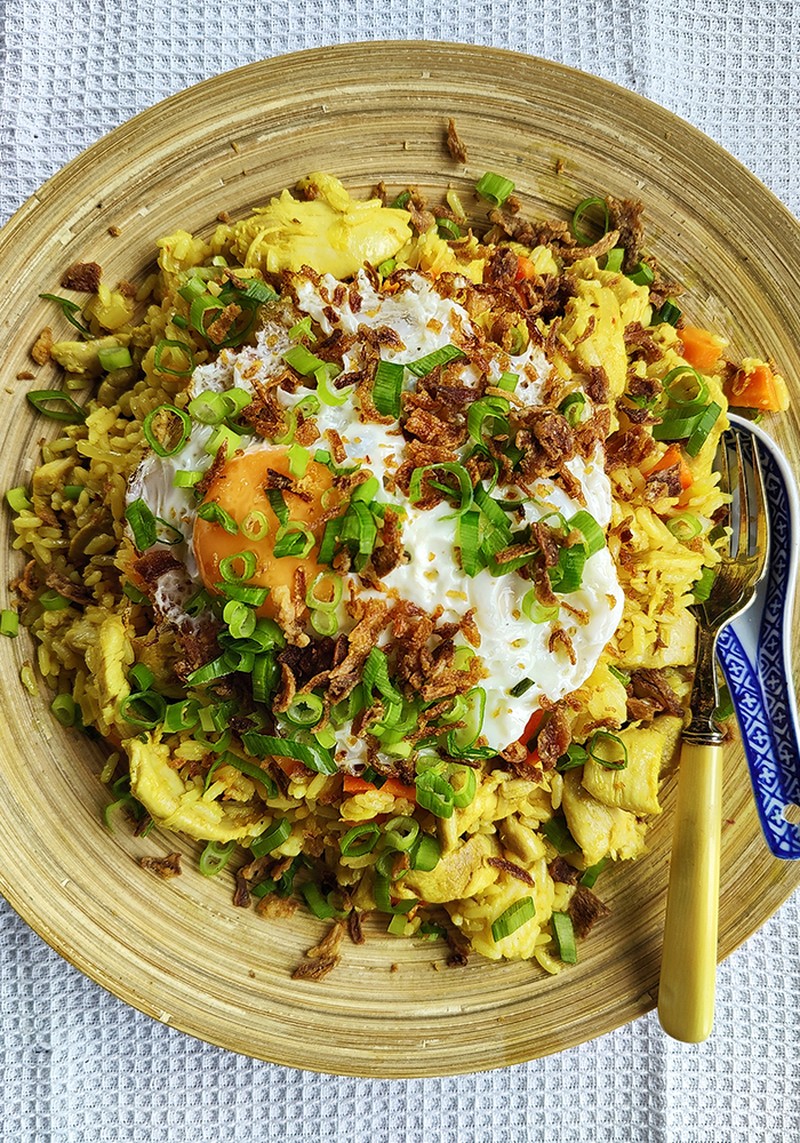
Nasi Goreng With Chicken: Jack Stein, Rick Stein’s Cookery School
To make the paste, put all ingredients into a blender and blend until smooth.
Cook the rice in boiling, salted water until just tender – roughly around 15 minutes. Drain, rinse well and set aside.
Slice the chicken thighs thinly and stir fry in oil for 5 minutes, then add 1 tbsp of the nasi goreng paste and the chopped carrots, cook for a further 10 minutes.
Fry an egg for each person and warm 4 large dinner plates in the oven.
Add the soy sauce and most of the spring onions to the nasi goreng paste and toss together well.
Spoon the rice onto the warmed plates. Top with the fried eggs and sprinkle with the remaining spring onions and crispy onions; serve straight away.
Visit RickStein.com
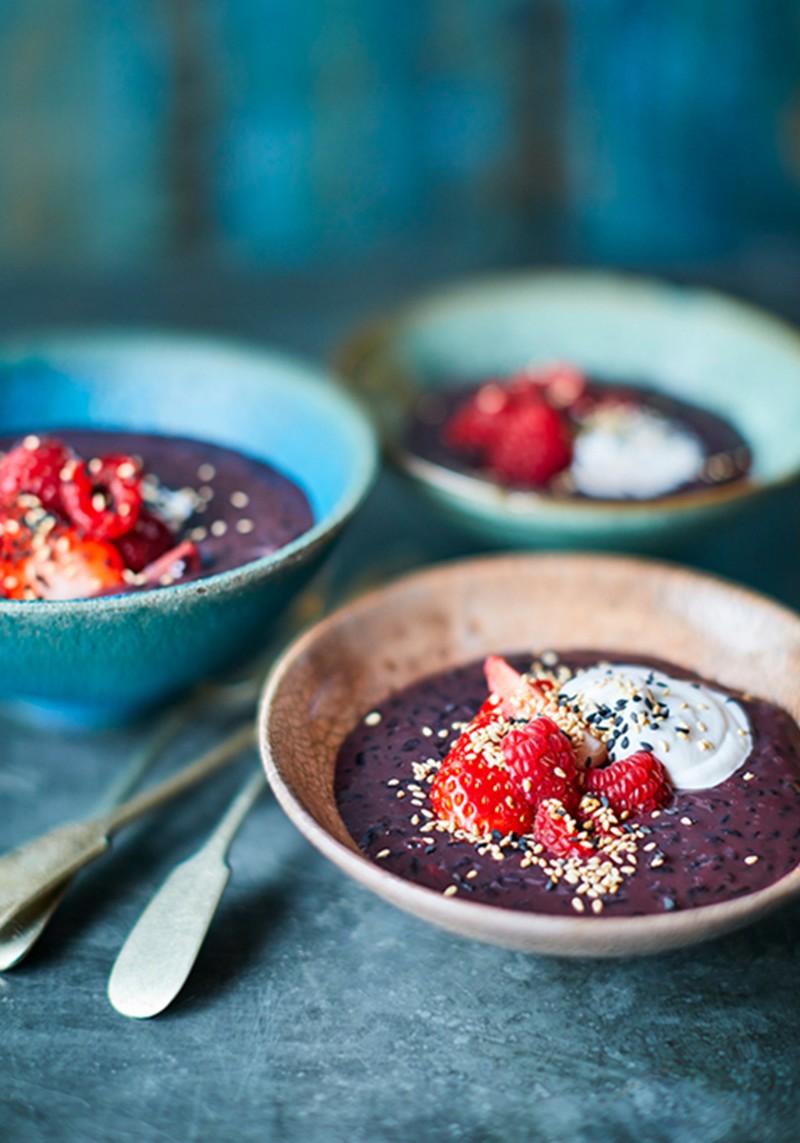
Berry Rice Pudding: Sebby Holmes, Farang
Put the soaked rice in a large, non-stick saucepan and submerge in warm water. Place on a high heat and stir regularly to ensure the rice does not stick to the bottom of the pan. When the water level falls to lower than the rice line, top up with more hot water. Repeat this process until the rice has softened. This will take 45 minutes to 1 hour – don't worry, you can’t overcook it.
When the rice has softened and the water has mostly boiled away, add the sugar, condensed milk, salt and coconut cream, and cook for a further 5 minutes until all the ingredients have infused. The rice pudding should be thick enough to stick to a spoon and taste rich, sweet and moreish. Remove from the heat and either serve immediately or cool before refrigerating. It will keep well for up to a week but should be heated thoroughly and re-seasoned to taste with sugar and salt before eating.
Serve hot in bowls topped with the strawberries and raspberries, a drizzle of coconut cream and a sprinkling of sesame seeds.
Visit Amazon.co.uk
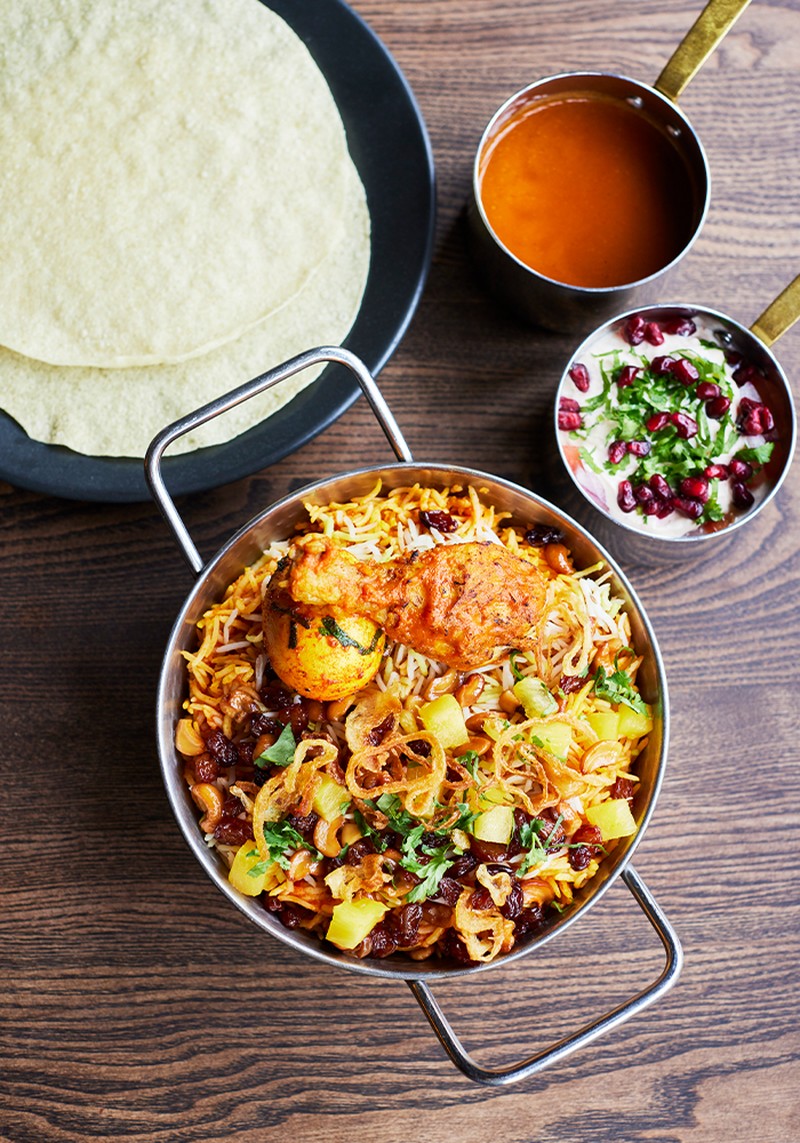
Kerala Chicken & Egg Biriyani: Atul Kochhar, Benares
Blend the garlic, ginger and green chilli, and 2-3 tbsp of water to make a smooth paste.
Marinate chicken using half of the paste, ground turmeric, 1 tsp ground red chilli, ½ tsp of garam masala and season for taste.
Keep it in the refrigerator for an hour and then shallow fry the chicken pieces in oil for 3-4 minutes – until light brown and sealed and set aside.
Soak seven cashew nuts in 150ml of water and set aside for half an hour. Then grind the nuts into a smooth paste and set aside.
Soak the basmati rice in water for half an hour and set aside.
Heat some oil in another pan and fry 1 sliced onion, the rest of the cashew nuts and raisins separately. Set aside for the garnish.
To prepare the rice for the biriyani, heat 2 tbsp of ghee in a deep pan and sauté the fennel seeds. Fry half an onion until translucent and then add cloves, cardamom pods, cinnamon stick and bay leaves. Fry again for another 2-3 minutes.
Add 1.2 litres of water along with the washed and drained rice. Add lemon juice and season to taste. Let it come to boil.
Then turn down the heat and cover the pan with a lid. Once cooked, drain and keep it aside.
To prepare gravy for chicken and eggs, heat the oil in a pan and fry the remaining onions until golden brown. Then add the remaining paste and fry for 2-3 minutes.
Add tomatoes, the rest of the spices, salt to taste and cashew nut paste. Fry again for 3-4 minutes. Add the chicken pieces along with 100ml water, cook for 10-12 minutes until chicken is cooked.
Finally, add the whole eggs, 2 tsp of yogurt and 1 tsp of vinegar. Cook again for a couple of minutes
To arrange the layers, take a deep heavy bottomed pan and place a layer of chicken. Then add a layer of rice and pour ½ tsp of rose water.
Use chicken, egg and rice alternatively until finished, but make sure the top layer is rice. Pour ½ tsp of rose water and 1 tbsp of ghee to the top of the layer.
Garnish the biryani with the set aside fried cashew nuts, raisins, onions and chopped coriander leaves. Cover the pan with foil and lid.
Place the pan in a pre-heated oven at 200°C/Gas Mark 6, for 10-12 minutes. Remove and serve the hot biriyani with onion raita.
Visit BenaresRestaurant.com
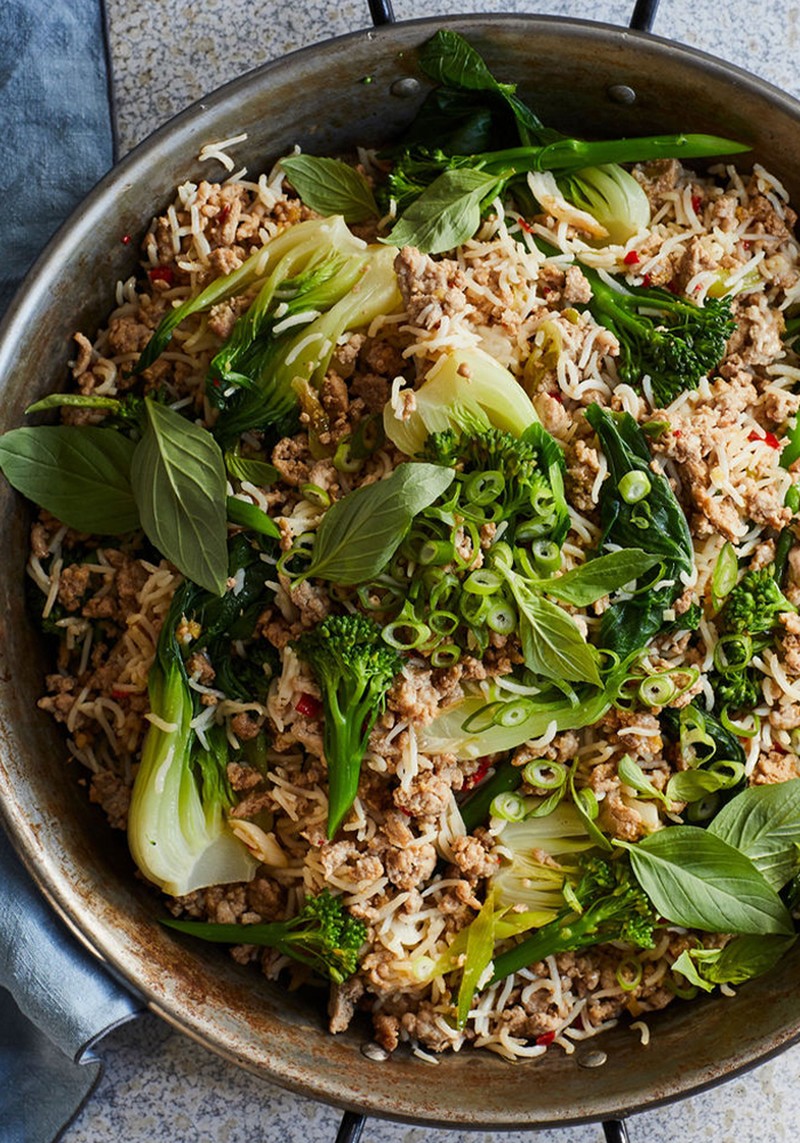
Crispy Ginger & Chilli Pork Fried Rice: Alan Rosenthal, Foolproof One-Pot
Cut each of the spring onions in half where the white part starts to turn green. Slice both sections finely but keep them separate.
Heat the oil in your wide shallow pot. Once very hot, add the pork mince, the white half of the sliced spring onions, the chillies and the ginger. Cook over a high heat, stirring regularly and breaking up any clumps of meat.
After about 6-7 minutes, turn the heat down a little. By now, the excess moisture will have been driven off, allowing the pork to start frying in its own fat. Regularly scrape down the sides of the pot and mix to ensure all the little pieces of pork are cooked evenly.
After a total of 10-12 minutes, the pork mince will have caramelised in lots of places and your pot will be quite dry. Add the garlic and cook for 2 more minutes. Add the cooked rice to the pot, breaking it up among the pork.
Mix through the soy and fish sauces and then add the pak choi (bok choy) and Tenderstem. Cook for 4-5 minutes over a medium heat, regularly turning everything to ensure the vegetables cook evenly.
Finally, toss through the finely sliced greens from the spring onions and the basil leaves. Serve sprinkled with a little vinegar for some acidity to balance the dish.
Visit Waterstones.com
For more information about all things rice, visit RiceAssociation.org.uk
DISCLAIMER: We endeavour to always credit the correct original source of every image we use. If you think a credit may be incorrect, please contact us at info@sheerluxe.com.
