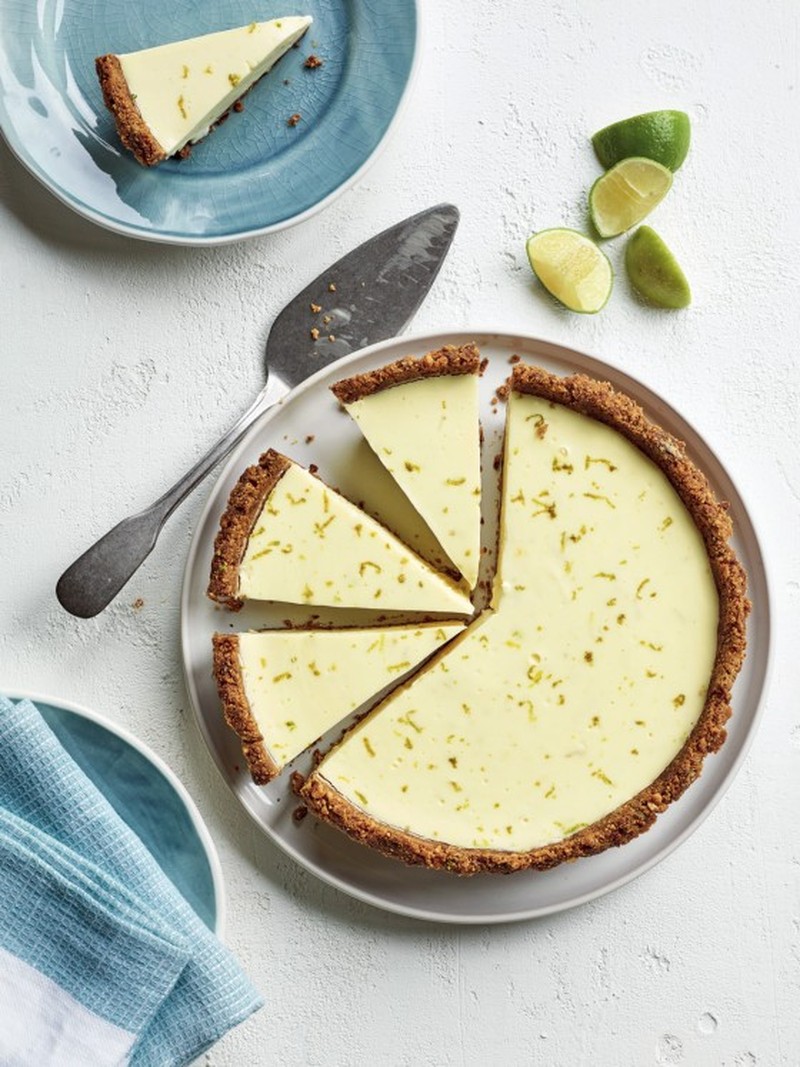
Lime Cream Pie
Line a 23cm tart tin with sloping sides or quiche dish with two layers of cling film, leaving some overhanging to help lift the pie out afterwards. (If using a ceramic dish that you are happy to serve the pie from, there is no need to line the dish, just grease with a little sunflower oil.)
To make the base, put the butter into a medium microwaveable bowl, cover and cook on high for 30 seconds (1000W), 40 seconds (800W) or until melted.
Put the biscuits in a strong plastic food bag and bash into fine crumbs with the bottom of a saucepan (or blitz in a food processor); they shouldn’t be too powdery. Add to the bowl with the melted butter and mix well.
Press the buttered crumbs firmly into the base and sides of the tin or dish with the back of a spoon until evenly covered, flattening the edges with your fingers. Put it in the freezer for 30 minutes.
Meanwhile, weigh the lemon juice, then add enough lime juice to make up to 70ml.
To make the filling, mix the cream and sugar in a large microwaveable mixing bowl or jug. Cover and cook on high for 3 minutes (1000W), 3 minutes 40 secs (800W) or until the cream is hot but not boiling. Stir until the sugar dissolves.
Add the lime zest, followed by the lime and lemon juices, stirring for a few seconds, or just until the cream thickens a little. Pour the mixture carefully onto the prepared biscuit base. Cover and chill in the fridge for at least 8 hours or overnight until set.
Using the cling film to help you, gently lift the pie out of the tin or dish and carefully transfer to a serving plate. Cut into wedges and serve immediately.
Micro-tip: Use unwaxed limes or scrub them well in warm water before grating. It’s important to use the recommended amount of lime and lemon juice so the cream sets. For the most reliable results, weigh on digital scales.
Recipe courtesy of PING! COOK, BAKE, CREATE Using just your microwave by Justine Pattison. Published by HQ, HarperCollins
Recipe image credit: Kate Whitaker
DISCLAIMER: We endeavour to always credit the correct original source of every image we use. If you think a credit may be incorrect, please contact us at info@sheerluxe.com.


