How To Find The Right Foundation & Make It Work For You
Prep & Correct Your Skin
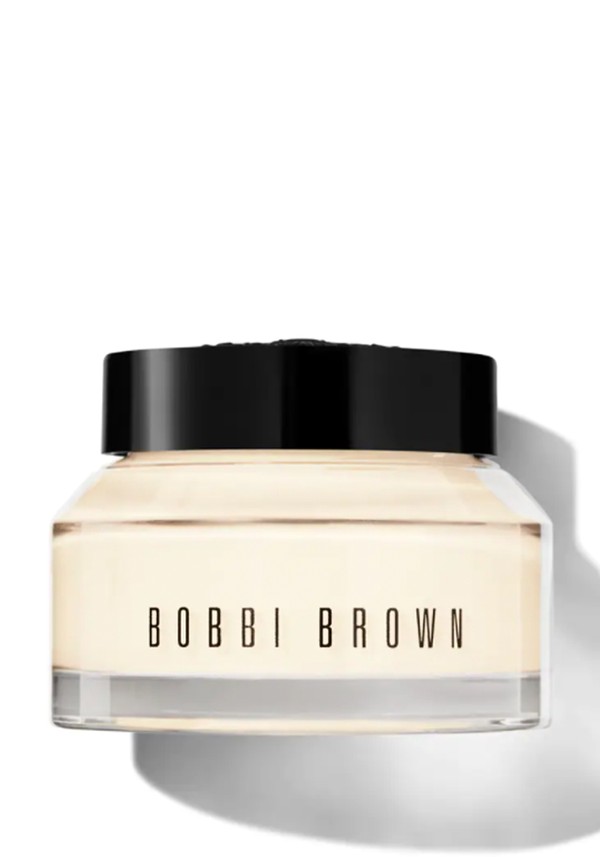
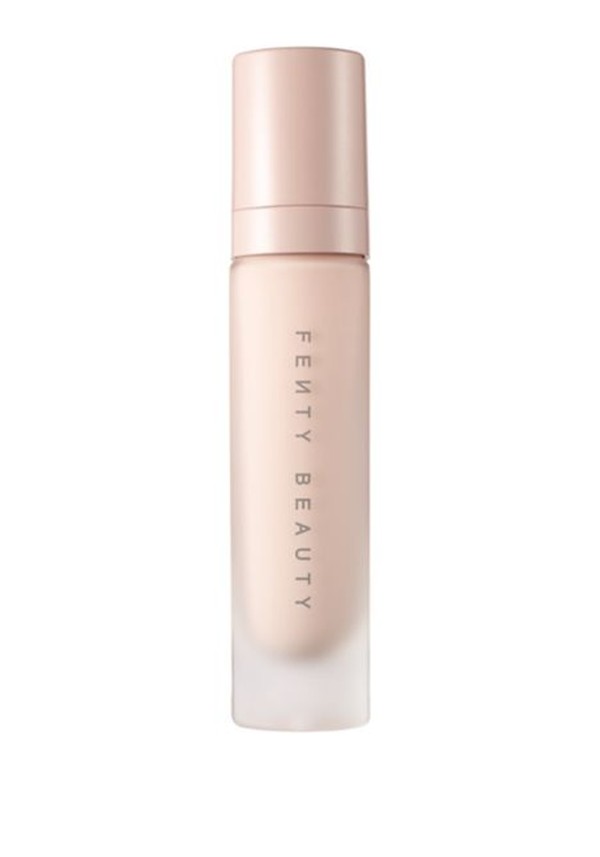
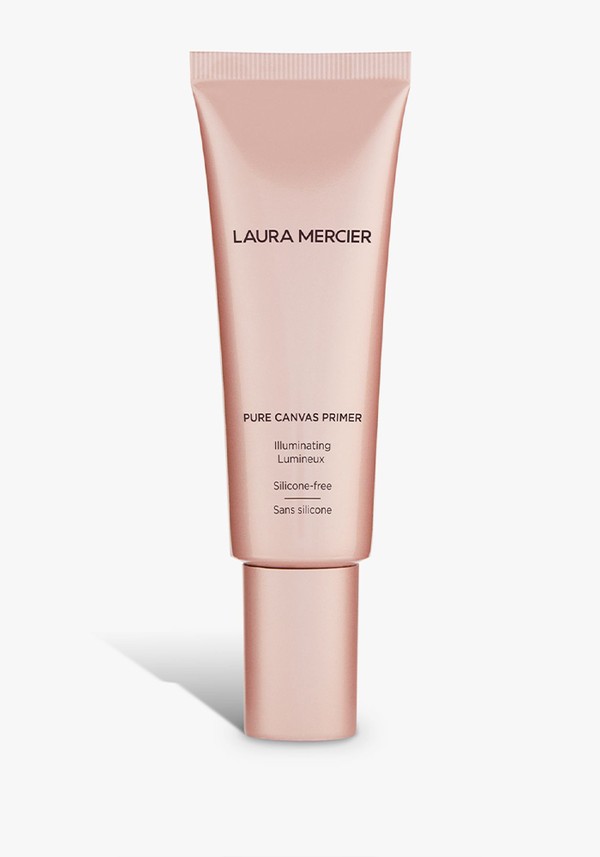
All great make-up starts with great skin, and most of us have concerns we hope to correct with foundation, such as pigmentation, blemishes, uneven skin tone and redness. Ideally, you want to use primers and correctors to even out the skin first and then apply a light layer of your chosen foundation, only where it’s needed, for the most natural look. You don’t want to apply heavy layers, as this will only draw attention to areas you are trying to cover up.
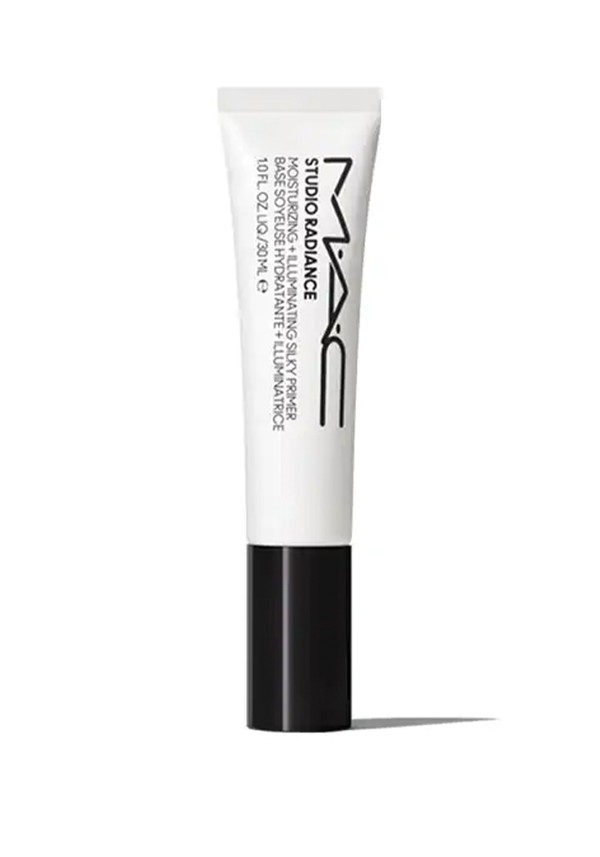
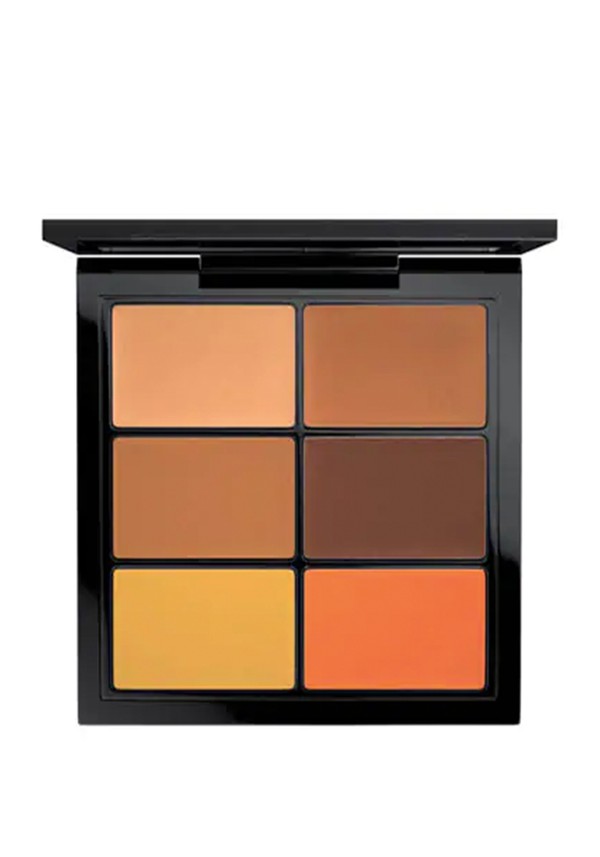
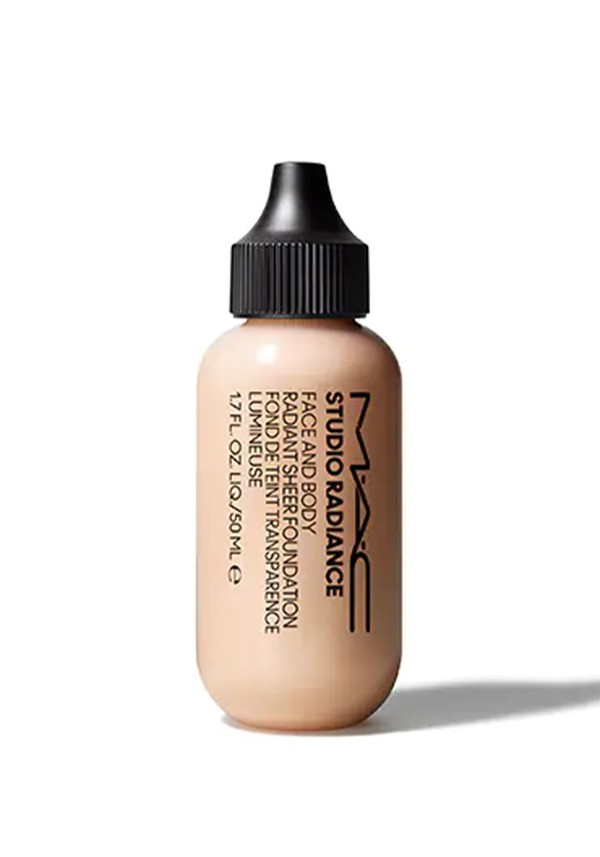
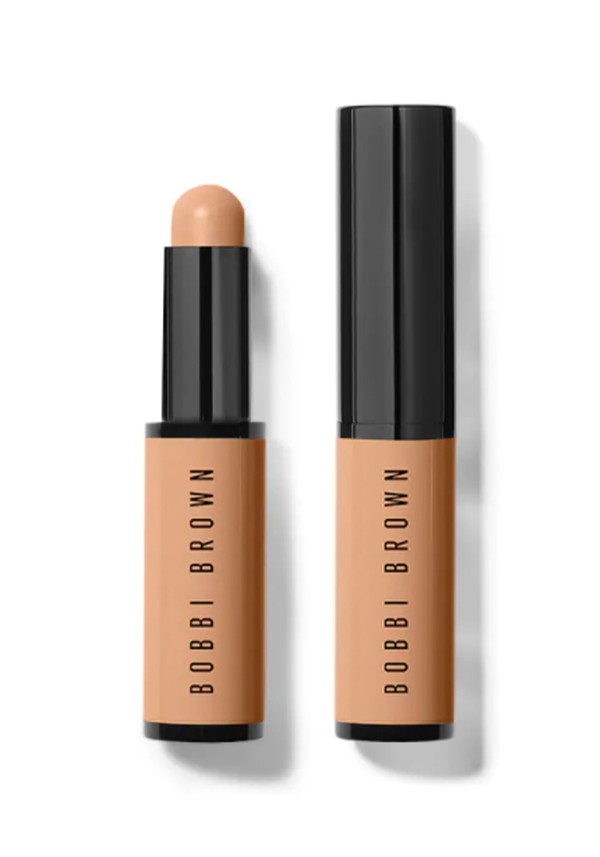
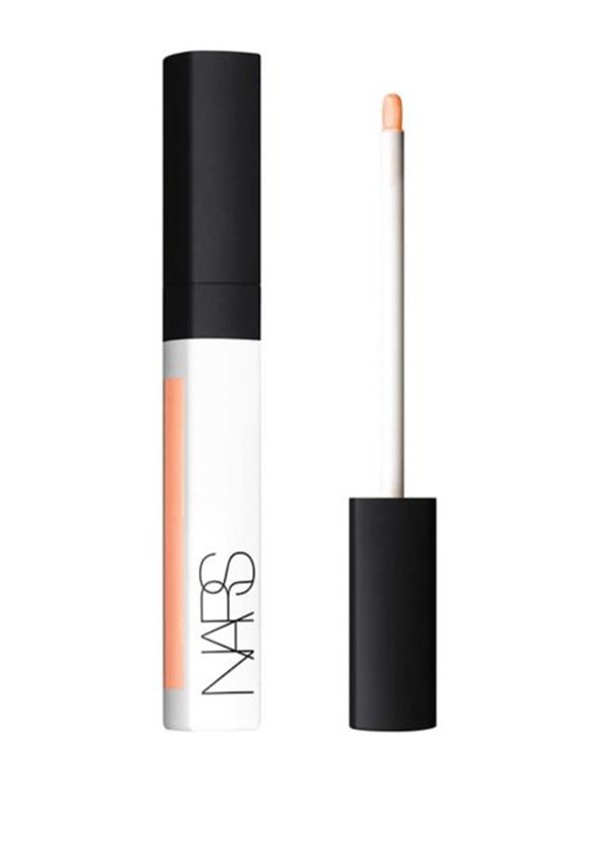
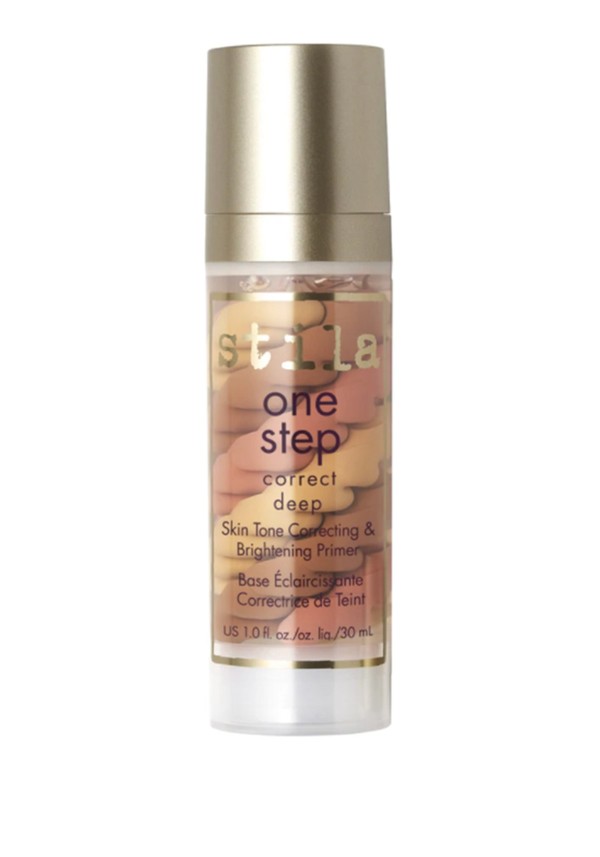
Starting with a primer will help you create a smooth canvas and ensure your make-up stays in place. Not all primers are created equal, so think about what you want your primer to do for your skin and choose one accordingly. It’s also worth applying a colour corrector before your foundation, if you have the kind of imperfections that can be neutralised. Colour correctors can take down redness, even out under-eye shadows and mute skin discolouration. All in all, if your skin is prepped properly, your foundation will look so much better.
Pick The Right Formula For You
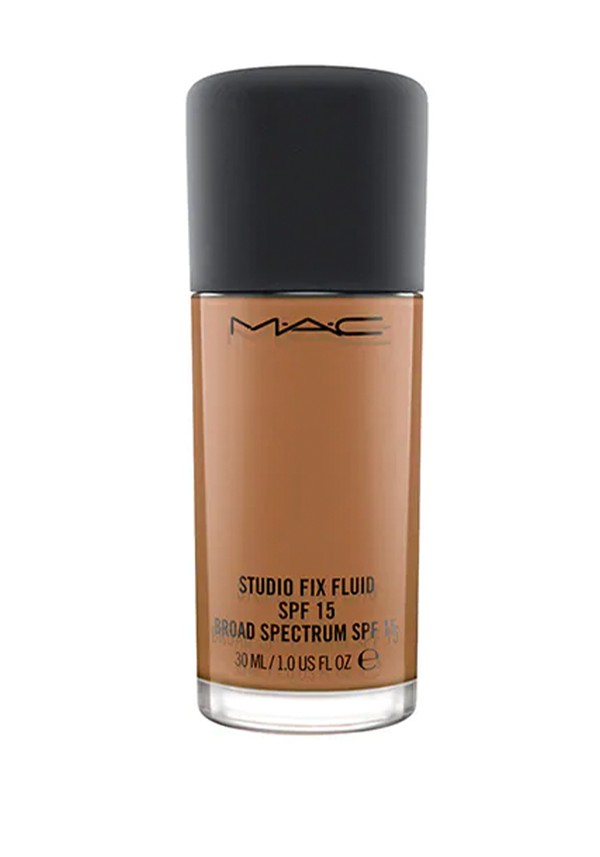
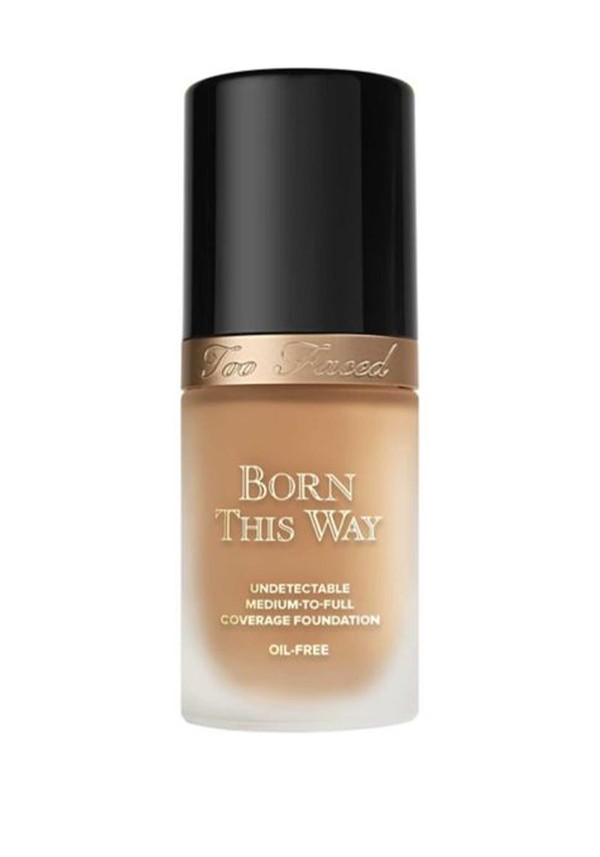
To get the best from your foundation, it’s crucial to know your skin type, as this will help you to choose the right formula. If you have normal to dry skin, go for a hydrating foundation with moisturising ingredients to keep your complexion looking hydrated and radiant. Combination to oily skin should go for an oil-free foundation to minimise any excess shine throughout the day.
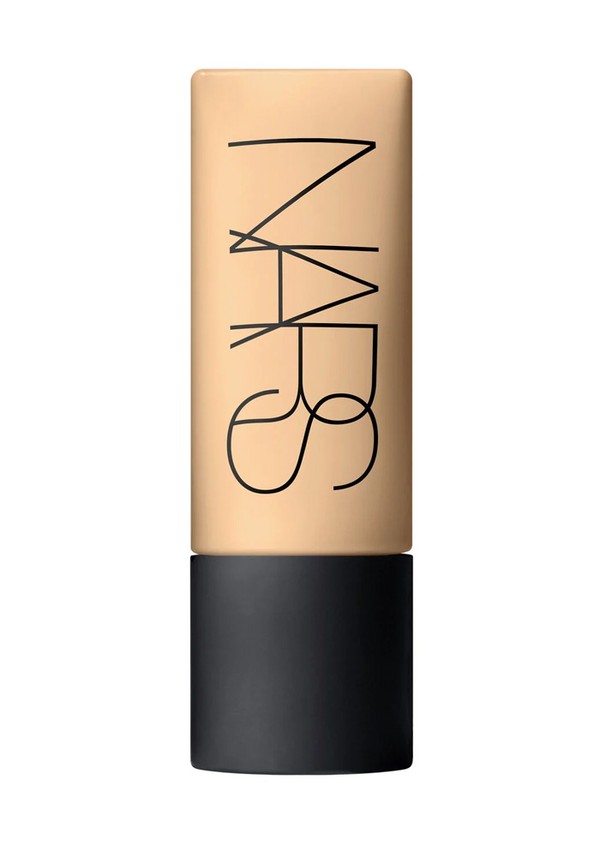
You can also choose a formula based on your preferred finish and coverage, so think about how you want your foundation to look. If you like glow, find foundations with radiance-enhancing properties. If you prefer your make-up to look shine free, choose longer-wear, more matte options. Foundations also range from sheer to full coverage so factor this in, too. My best tip is to choose a light, buildable foundation you can apply to your desired finish.
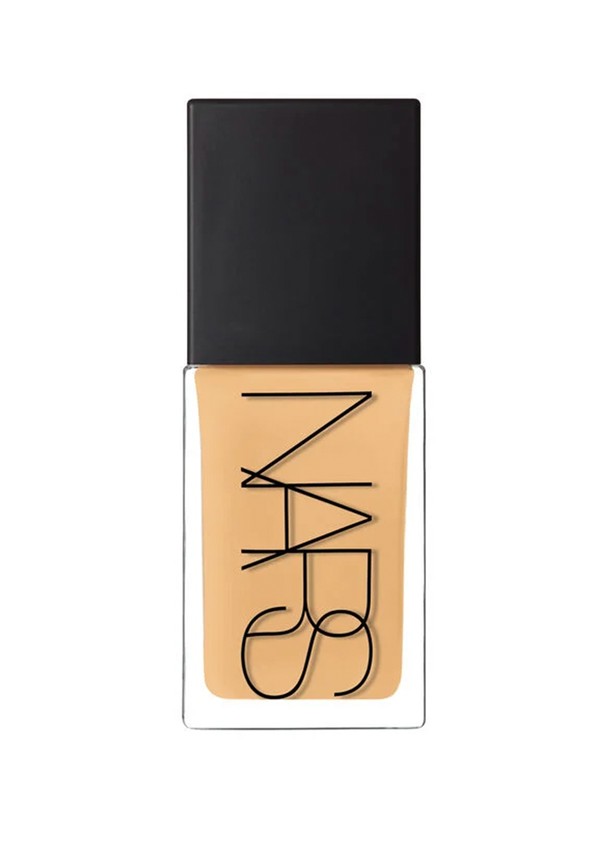
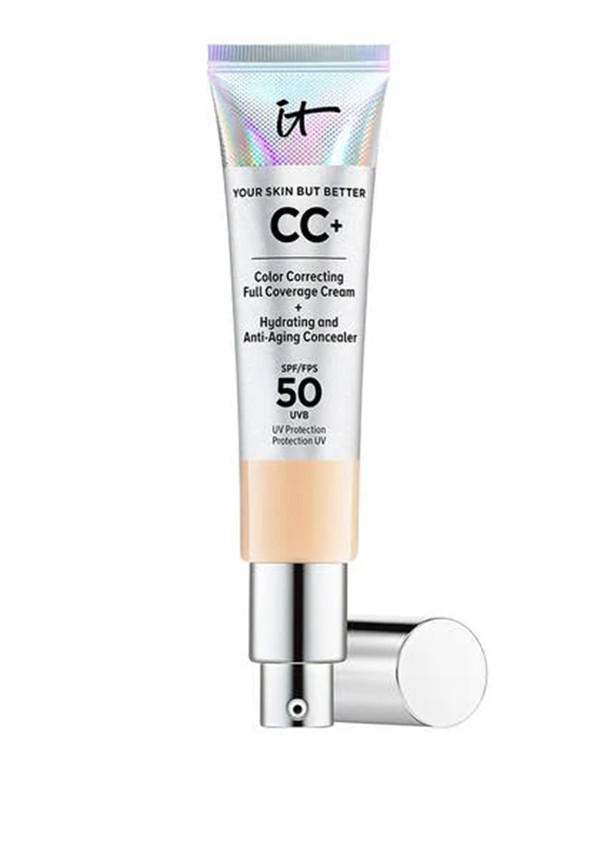
Match Your Skin Tone & Undertone
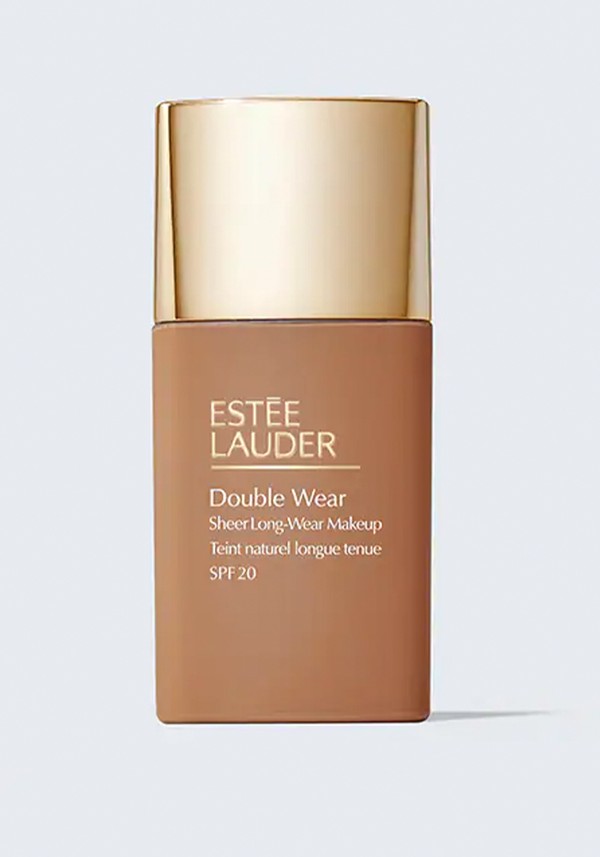
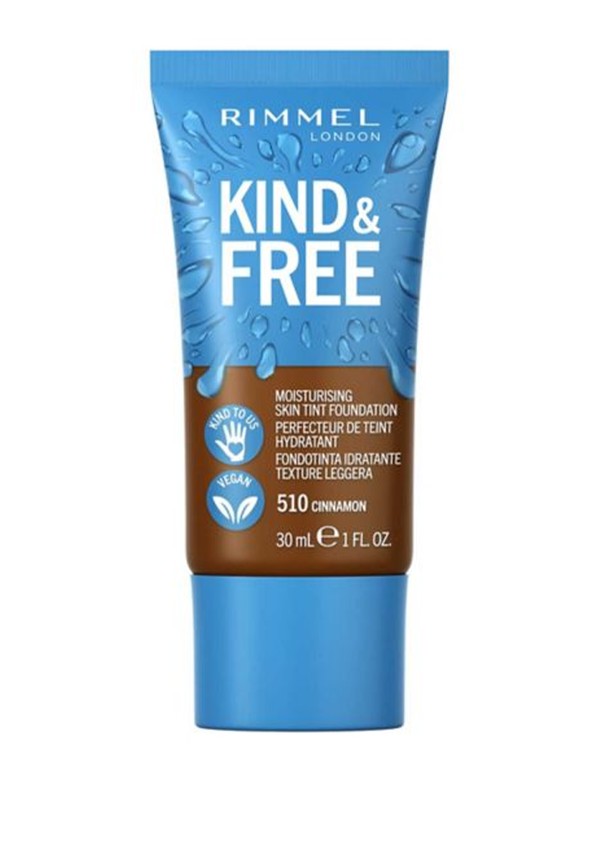
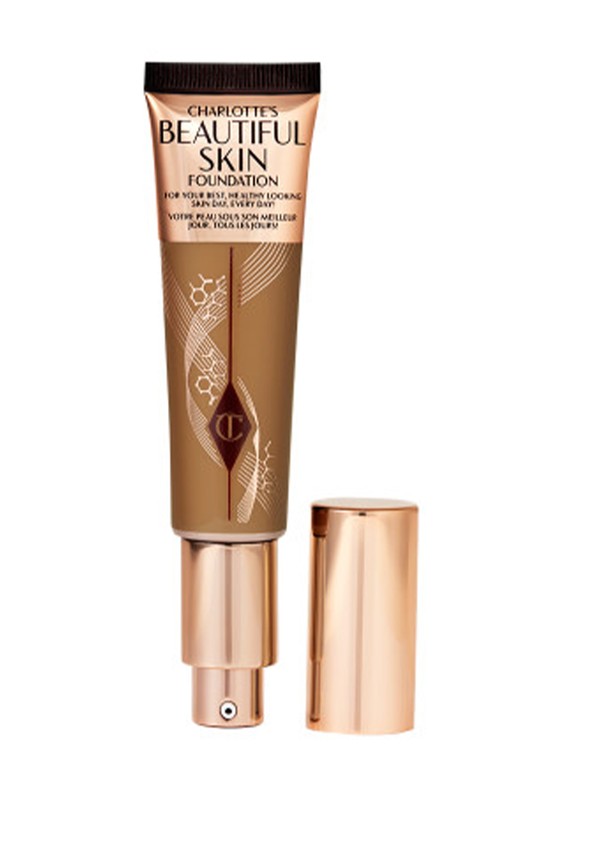
For the best match, look at the undertone of your skin. You may have struggled to find the perfect foundation in the past because of this. Most people can correctly categorise their skin tone – they either have a fair, light, medium, dark or deep skin – but you also need to know the underlying colour of your skin. Most people have either a cool, warm or neutral undertone and this doesn’t change depending on the season. If your skin has a lot of yellow, peach or golden tones, you would be classed as having a warm undertone. If your skin has a lot of pink tones, you have a cool undertone. And if you have a mix of both, you have a neutral undertone.
Another easy way to identify your undertone is by the jewellery you wear. Typically, those with a warm undertone will wear gold or rose gold jewellery, while those with a cool undertone will tend to wear a lot more silver. The vein test is also a helpful tool to find your undertone. Look at your inner wrist – if your veins are more on the blue side, you have a cool undertone. Those that have green veins have a warm undertone and those with a mix of both have a neutral undertone.
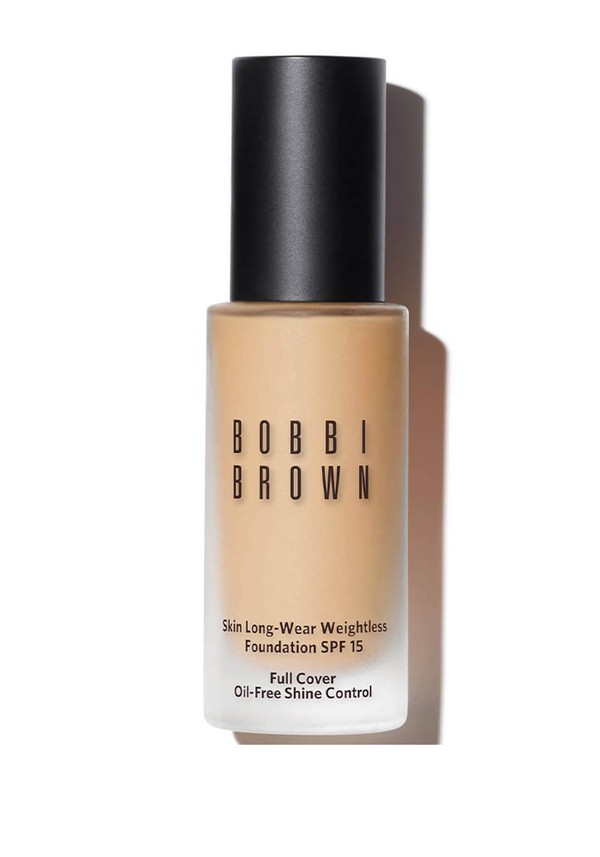
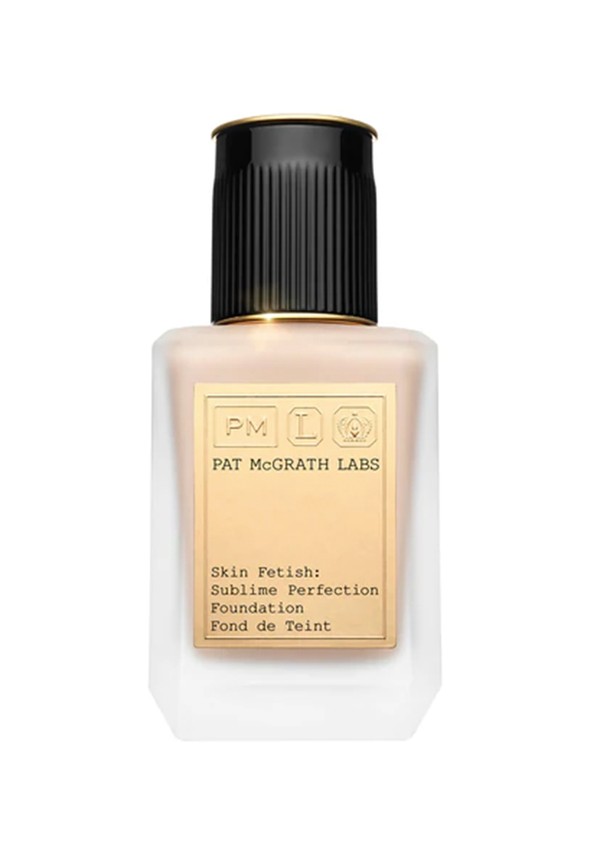
Test It On Your Skin
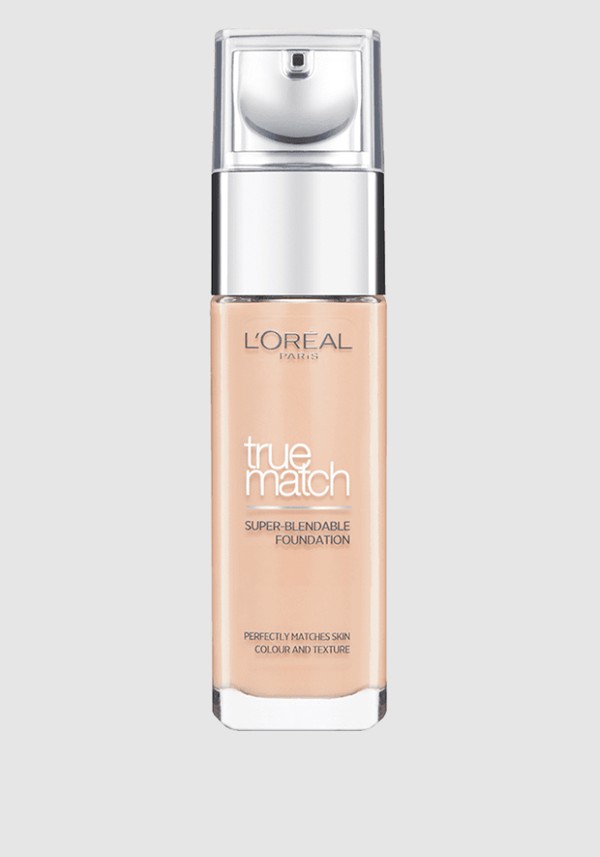
When you’ve chosen your foundation shade, test it on your skin first. The most common advice is to apply a few shades to your jawline to see if they blend together, but more rigorous testing will ensure you get the best match. Take two to three shades and apply them to the forehead first – the forehead is the highest point of the face and comes into direct contact with the sun, so you tend to have more colour here. If you only test a foundation on your jawline, you run the risk of it not matching other areas of your face. Also, test the foundation on your cheeks, as this is where most people tend to experience redness or pigmentation. It is also a good idea to test it on the chest and neck for a more uniform match. Look at the lighting, too – natural daylight will show you how it wears and lasts.
Use The Right Tools
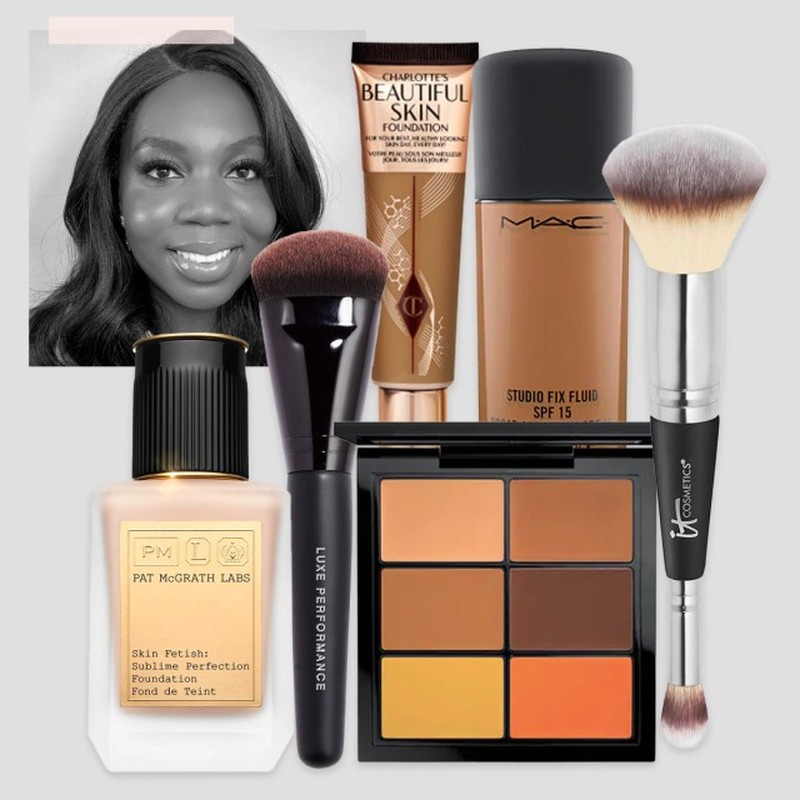
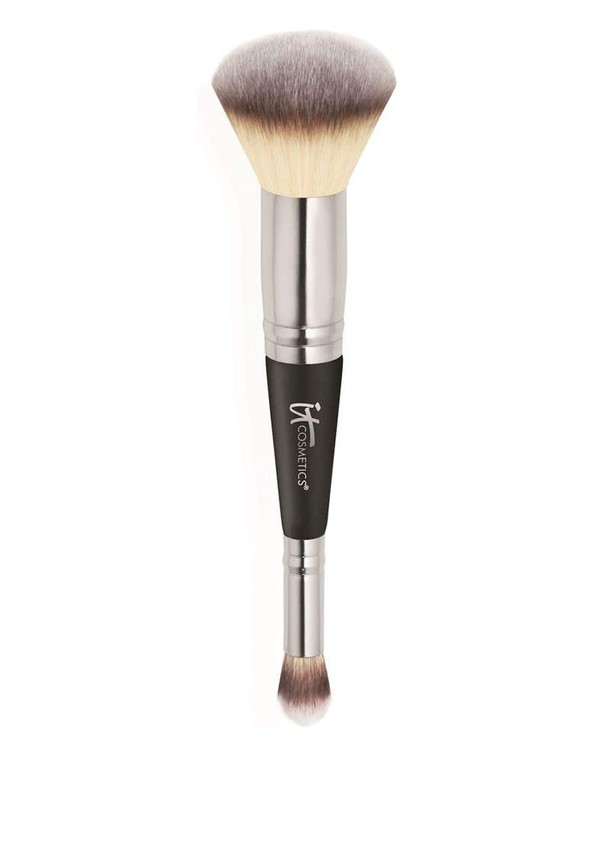
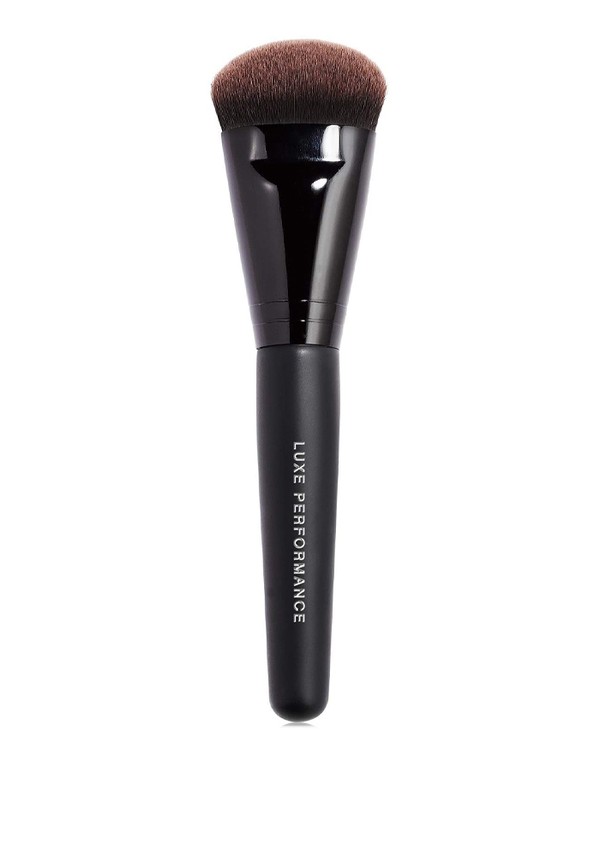
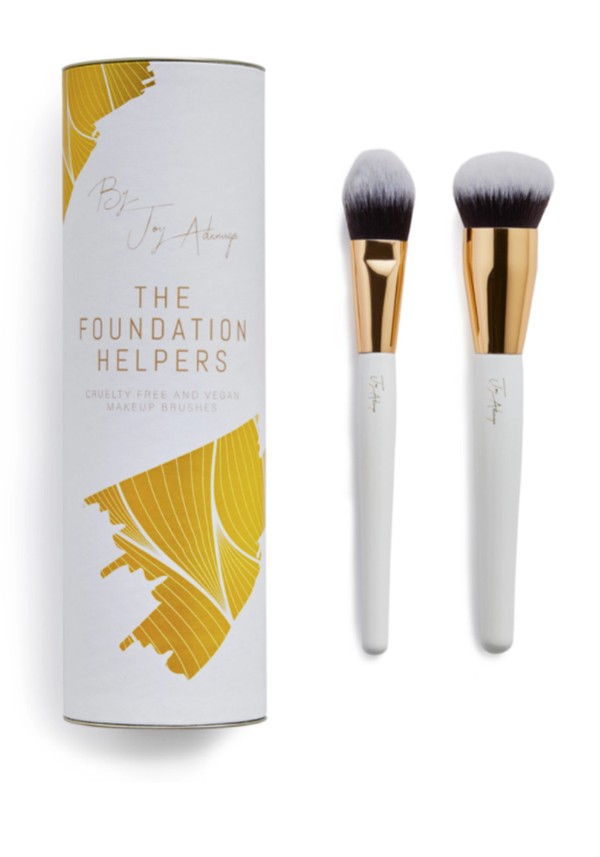
Finally, the right tools will help you get the most out of your foundation, as well as the best finish. There are so many different tools to choose from. You can use your fingers to warm the product and press it into your skin but a foundation brush will help you achieve a flawless finish and the make-up last longer. Start in the centre of the face (as that is where we tend to need the most coverage) and blend outwards.
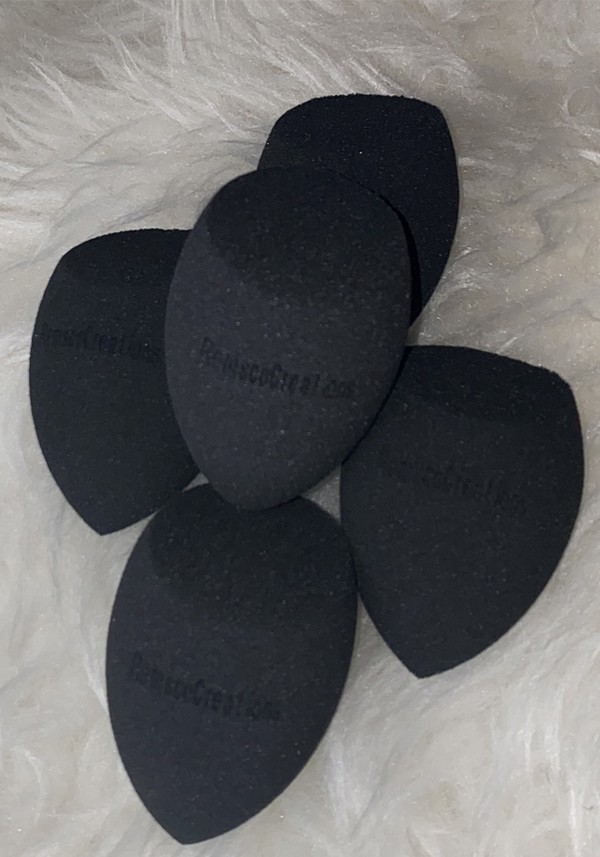
The stippling technique is another way to add coverage only where you need it most, by gently bouncing your foundation brush over certain areas. A damp sponge will do the trick, too, and is great for blending over spots. I don’t love sponges for applying foundation all over, as they tend to soak up so much product. If possible, only use them at the end of the process or to touch up certain areas.
Follow @AdeolaGboyega
DISCLAIMER: We endeavour to always credit the correct original source of every image we use. If you think a credit may be incorrect, please contact us at info@sheerluxe.com.
